
# A Beginner’s Guide to Applying Window Film at Home
Are you looking to enhance your home’s aesthetics or improve energy efficiency? Window film offers a variety of benefits that might just be the solution you need. In this guide, we’ll walk you through everything you need to know about applying window film at home, offering a practical approach that even beginners can follow.
Window film is a thin laminate film that can be installed on the interior or exterior of glass surfaces in homes, offices, or vehicles. It provides a variety of benefits, including heat reduction, UV blocking, glare reduction, and enhanced privacy. According to the U.S. Department of Energy, window films can significantly improve energy efficiency by reducing heat gain. The Environmental Protection Agency (EPA) also highlights the importance of managing indoor environmental conditions for comfort and health. For additional third-party guidance on how window films are evaluated and used on residential windows, you can also review the NFRC consumer guidance on window film and Natural Resources Canada’s information on upgrading windows and exterior doors for efficiency.
Benefits of Window Film
- Energy Efficiency: Window film can significantly reduce heating and cooling costs by minimizing heat transfer through windows.
- UV Protection: It blocks up to 99% of harmful UV rays, protecting your furnishings and flooring from fading.
- Privacy and Security: Window film enhances privacy and can add a layer of security by holding shattered glass in place.
- Aesthetic Appeal: Available in various designs and finishes, window film can add a decorative touch to your windows.
Preparing for Installation
Before you start applying window film, it’s essential to gather all the necessary tools and materials.
Tools and Materials Needed
- Window film of your choice: Ensure it’s suitable for your specific application needs, whether it’s for privacy, UV protection, or decorative purposes.
- Gila window film application solution: This solution helps in smooth application and prevents bubbles.
- Squeegee: Used to smooth out the film and remove air bubbles.
- Utility knife: For trimming the film to fit your window.
- Tape measure: To measure window dimensions accurately.
- Lint-free cloth: To clean the windows before application.
- Spray bottle: Filled with the application solution.
Preparing Your Windows
- Clean the Windows: Use a lint-free cloth and a glass cleaner to ensure the windows are spotless. Any dust or dirt can create bubbles under the film.
- Measure and Cut the Film: Measure the window and cut the film slightly larger than the window dimensions. This allows for trimming after application.
Applying Window Film
Now that you’re prepared, it’s time to apply the window film. Follow these steps for a smooth and professional finish.
Step-by-Step Application Guide
- Spray the Window: Use the spray bottle to apply the Gila window film application solution generously on the window. This helps the film slide into position.
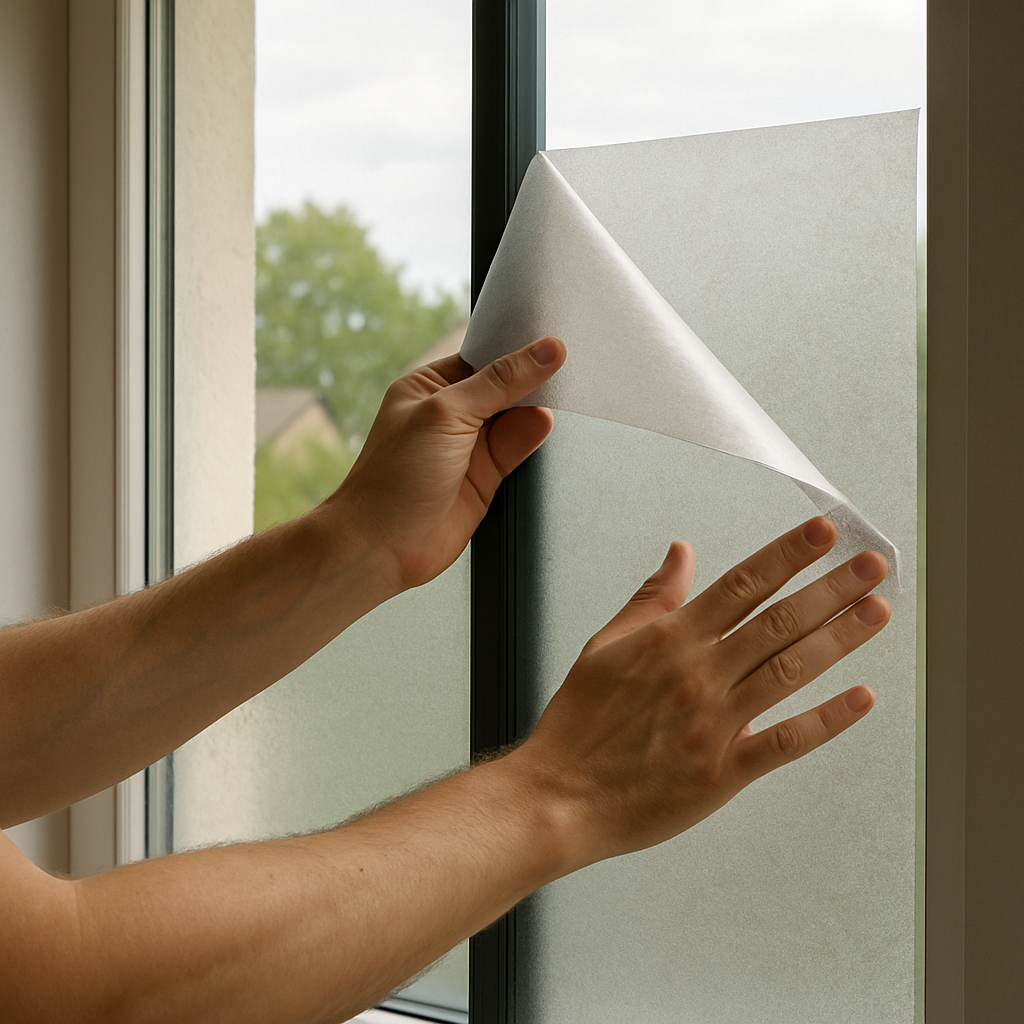
- Peel the Film: Carefully peel the backing from the window film. This is easier with two people—one to hold and one to peel.
- Position the Film: Place the adhesive side of the film onto the wet window. Start at the top and let the film naturally adhere to the wet glass.
- Smooth the Film: Use the squeegee to gently smooth the film from the center outwards, pushing out any air bubbles or excess solution.
- Trim the Edges: Use the utility knife to trim the film to the exact size of the window. Be careful to make precise cuts for a neat finish.
- Final Touches: Re-squeegee the film to ensure all bubbles are removed and the film is firmly in place.
Common Mistakes to Avoid
- Rushing the Process: Take your time to ensure each step is done correctly.
- Not Using Enough Solution: The application solution is key to a bubble-free finish.
- Inaccurate Cutting: Always measure twice and cut once to avoid wastage and ensure a perfect fit.
Maintaining Your Window Film
Proper maintenance can extend the life of your window film and keep it looking great.
Tips for Maintenance
- Cleaning: Wait at least 30 days before cleaning your new film to ensure it has adhered properly. Use a soft cloth and mild soapy water.
- Avoid Abrasives: Never use abrasive cleaners or tools that could scratch the film.
- Regular Checks: Periodically check the film for any signs of peeling or bubbling and address these promptly.
Conclusion
Applying window film is a cost-effective and straightforward way to improve your home’s energy efficiency, privacy, and aesthetic appeal. With the right tools and a bit of patience, you can achieve professional-looking results.
By following this guide, even beginners can successfully apply window film at home. Whether you’re an interior designer seeking to enhance your client’s living spaces or a homeowner looking to add a personal touch, window film offers a versatile and practical solution.

by Emily Fletke (https://unsplash.com/@emilyfletke)
With the knowledge and skills gained from this guide, you’re now ready to tackle your window film project with confidence and precision. Happy filming!