When it comes to bathroom privacy, windows can be a tricky aspect of the design. While natural light is essential for creating a bright and airy space, you also need to ensure privacy without compromising on style. The good news is that there are several options available that can help you achieve both privacy and aesthetics. This guide will walk you through choosing the right bathroom window privacy solution, focusing on privacy window films as a versatile and effective option.
Privacy window films are a popular choice for bathrooms because they offer a simple yet effective way to maintain privacy while allowing natural light to filter through. These films come in various styles, patterns, and levels of opacity, enabling you to customize the look of your bathroom windows to suit your design preferences.
What Are Privacy Window Films?
Privacy window films are thin sheets of material that adhere to your window glass. They are designed to obscure the view from outside while still allowing light to pass through. Depending on the style you choose, privacy films can range from fully opaque to semi-transparent, offering varying degrees of privacy.
Benefits of Privacy Window Films
- Enhanced Privacy: The primary benefit of privacy window films is that they prevent onlookers from seeing inside your bathroom, ensuring your personal space remains private.
- Aesthetic Appeal: With a wide range of designs and patterns, privacy films can enhance the visual appeal of your bathroom, adding a touch of elegance or modernity, depending on your style.
- Easy Installation: Installing privacy films is a straightforward process that doesn’t require professional help, making it a cost-effective solution.
- Light Control: While ensuring privacy, these films still allow natural light to enter, maintaining a well-lit environment.
- Energy Efficiency: Some privacy films also have heat-rejecting properties, helping to regulate the temperature in your bathroom and potentially lowering energy bills.
Types of Privacy Window Films
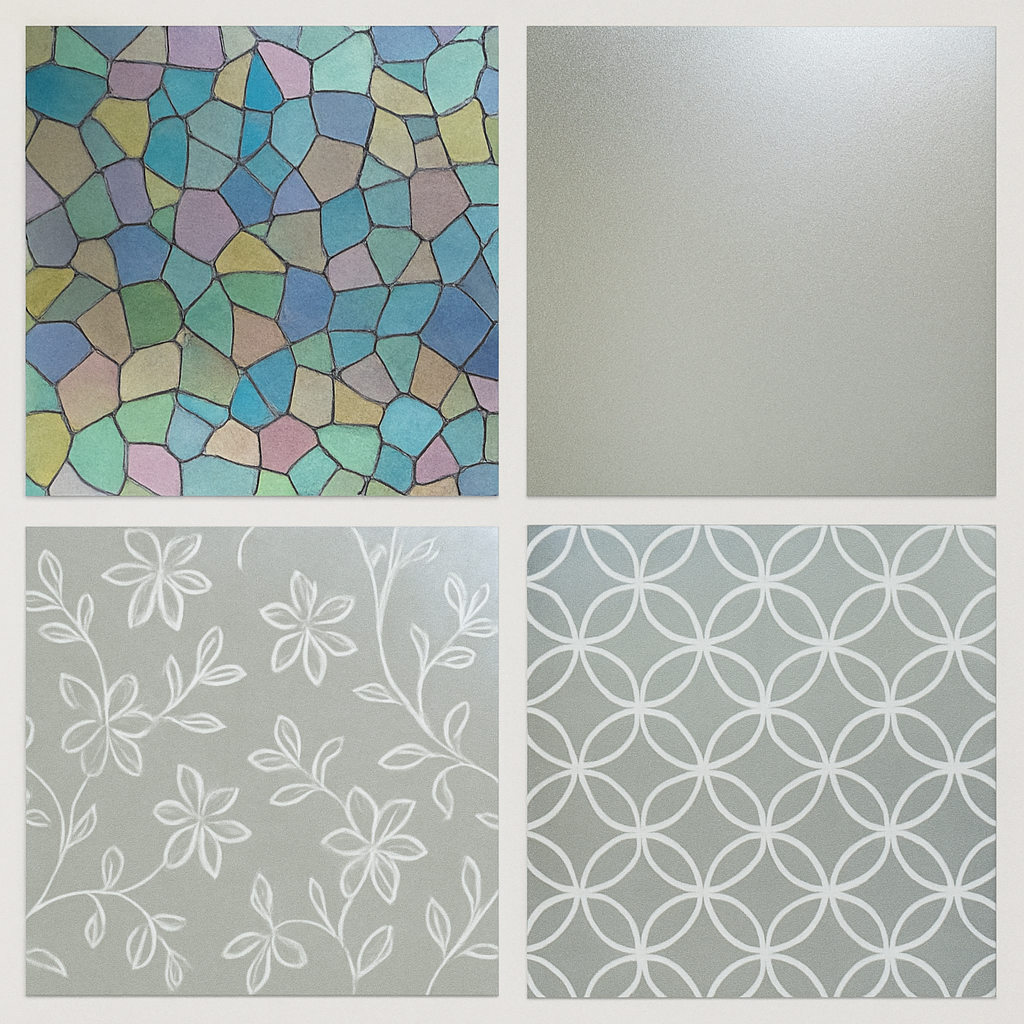
There are several types of privacy window films to choose from, each with its own unique features and benefits.
Frosted Window Film
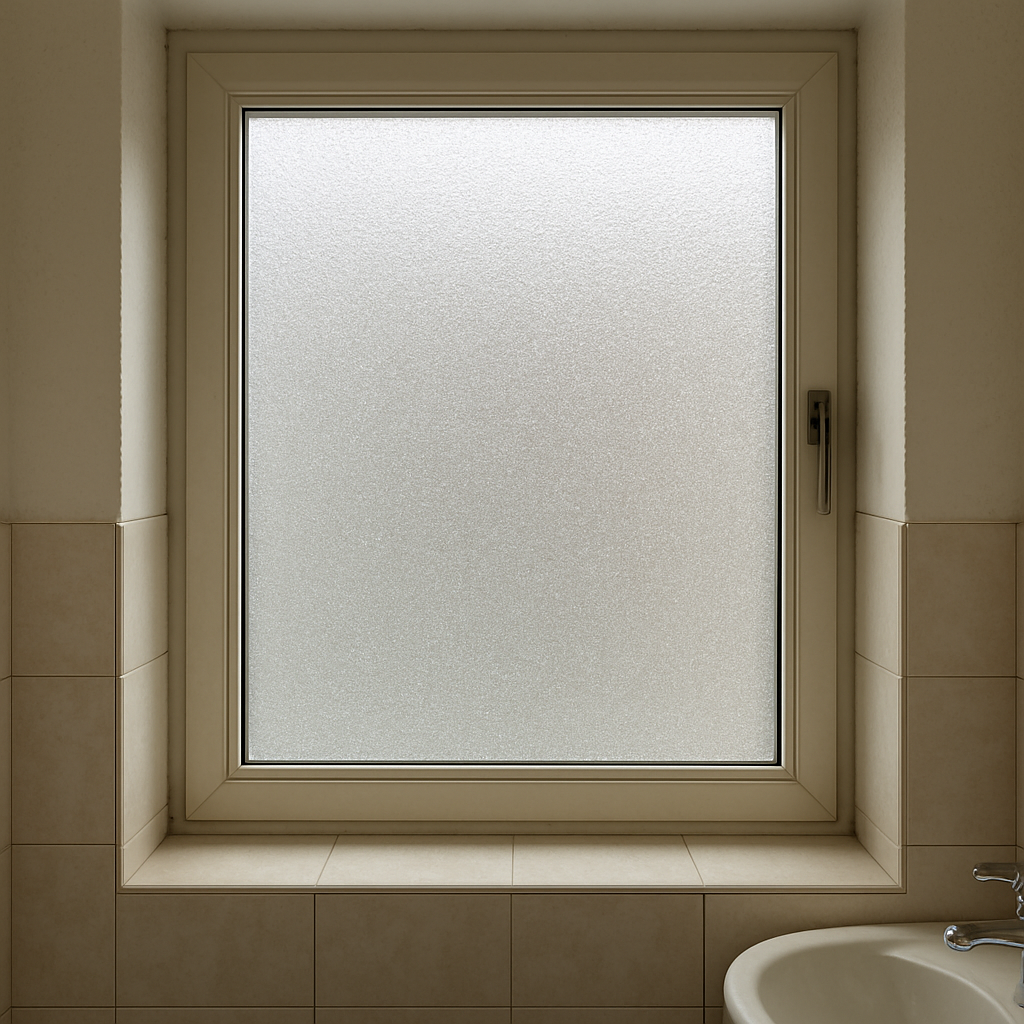
Frosted window film is one of the most popular choices for bathrooms. It provides a soft, blurred effect that blocks the view from outside while allowing plenty of light to pass through. Frosted films are ideal for those who want a clean, minimalistic look.
Decorative Window Film
Decorative films come in a variety of patterns and designs, such as floral motifs, geometric shapes, or stained glass effects. These films add a decorative touch to your bathroom windows, making them an excellent choice for those looking to make a design statement.
Static Cling Film
Static cling films are non-adhesive and can be easily applied and removed without leaving any residue. This type of film is perfect for renters or anyone who may want to change their window design frequently.
One-Way Mirror Film
One-way mirror films offer privacy during the day by creating a reflective surface on the outside while allowing you to see out from the inside. However, they are less effective at night if the interior is brightly lit, so additional measures may be needed for nighttime privacy.
Choosing the Right Privacy Film for Your Bathroom
Selecting the right privacy film involves considering several factors, including your design preferences, privacy needs, and budget.
Assess Your Privacy Needs
Consider how much privacy you need in your bathroom. If your bathroom window faces a busy street or is close to a neighboring property, you may want a film with higher opacity. For bathrooms with less exposure, a semi-transparent film may suffice.
Consider the Aesthetic
Think about the overall design of your bathroom and how the window film can complement it. If you have a modern bathroom, a sleek, frosted film may be the best fit. For a more traditional or decorative space, consider a patterned or stained glass effect film.
Evaluate Installation and Maintenance
Privacy window films are generally easy to install, but some types, like decorative films with intricate patterns, may require more precision. Consider whether you’re comfortable installing the film yourself or if you might need professional help. Additionally, think about the ease of cleaning and maintaining the film to ensure it stays looking its best.
Budget Considerations
Privacy window films are available at various price points. Static cling films tend to be more affordable, while custom or high-end decorative films may cost more. Determine your budget before shopping to help narrow down your options.
Installation Tips for Privacy Window Films

by Blake Harbison (https://unsplash.com/@blake_harbison)
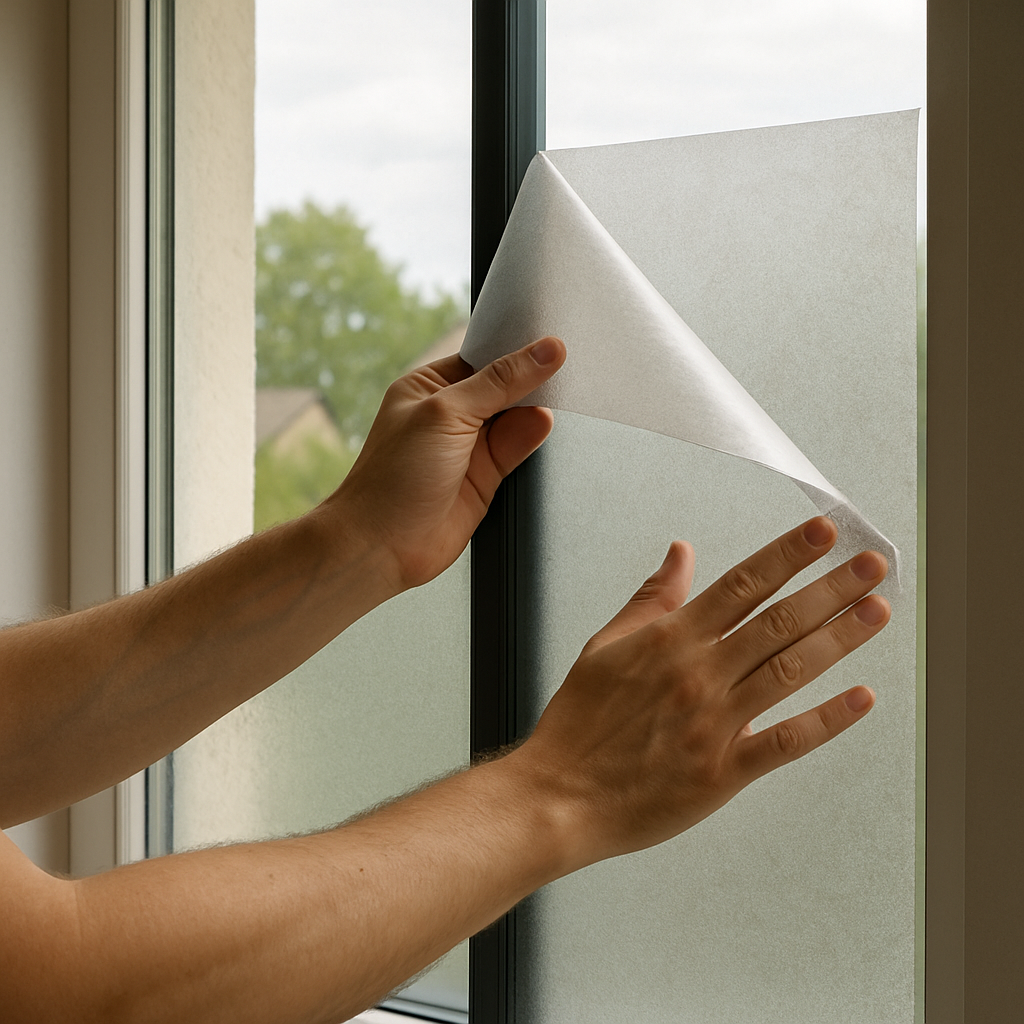
Installing privacy window films can be a DIY project if you follow these steps:
- Clean the Window: Ensure the window surface is clean and free of dust or debris, as these can affect the film’s adhesion.
- Measure and Cut: Measure the window dimensions accurately and cut the film to size, leaving a small margin for adjustments.
- Apply the Film: Peel off the backing and apply the film to the window, starting at the top. Use a squeegee or credit card to smooth out any bubbles or wrinkles as you work your way down.
- Trim the Edges: Once the film is in place, use a sharp utility knife to trim any excess film from the edges.
- Final Touches: Smooth out any remaining bubbles with the squeegee and wipe the film with a clean, damp cloth to finish.
Conclusion
Privacy window films offer an effective and stylish solution for bathroom window privacy. By considering your privacy needs, aesthetic preferences, and budget, you can choose the right film to enhance your bathroom while maintaining the privacy you desire. Whether you opt for a frosted, decorative, or static cling film, the right choice can transform your bathroom into a private oasis without sacrificing style or natural light. With the added benefits of easy installation and energy efficiency, privacy films are an excellent choice for any bathroom renovation or design project.