When it comes to improving the energy efficiency of a home, one often overlooked solution is the installation of heat reducing window film. This innovative product not only helps to keep your home cooler during hot summer months but also adds a layer of privacy and protection against harmful UV rays. In this article, we will explore the benefits of window film installation and provide practical tips to ensure a successful application.
Heat reducing window film is a thin, multi-layered polyester film applied to glass surfaces. It works by reflecting and absorbing solar energy, thus reducing the amount of heat that enters through your windows. The film can significantly lower air conditioning costs and enhance comfort in your living spaces. Additionally, it helps in protecting your furnishings from fading by blocking up to 99% of UV rays. For additional guidance on home energy improvements, you can also reference the U.S. Department of Energy (Energy Saver).
Why Choose Window Insulation Film?
Choosing the right window film can make a substantial difference in the performance and aesthetic of your home. Beyond heat reduction, window film provides a sleek, modern look that complements any interior design. It’s an eco-friendly option that enhances energy efficiency without compromising on style. If you’re looking for broader best practices for efficiency upgrades, ENERGY STAR is another helpful resource.
Preparing for Installation
Before beginning the installation process, it’s crucial to prepare both the window surface and the film material properly. This preparation will ensure a smooth and bubble-free application.
Gather Necessary Tools and Materials
To start, you’ll need a few essential tools and materials:
- Heat reducing window film
- Spray bottle filled with soapy water
- Squeegee
- Utility knife
- Measuring tape
- Lint-free cloth
Having these items on hand will make the installation process smoother and more efficient.
Clean and Measure Your Windows
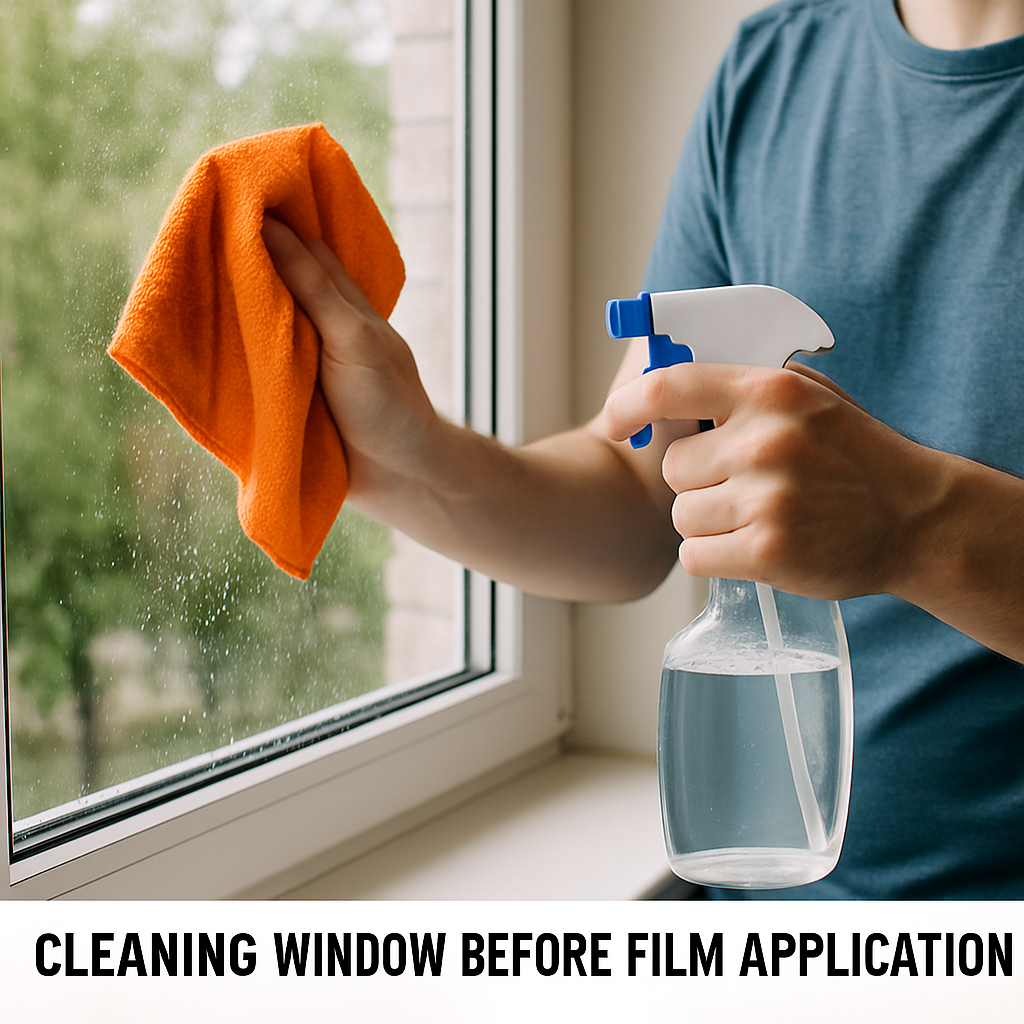
Begin by thoroughly cleaning your windows with a lint-free cloth and a mild cleaning solution. Any dirt, dust, or debris can interfere with the film’s adhesion, so it’s important to ensure the glass is spotless.
Once cleaned, measure your windows accurately. Cut the film to a size slightly larger than the window pane to allow for precise trimming once the film is applied.
Installing Heat Reducing Window Film
With your windows prepared and materials ready, it’s time to begin the installation process. Follow these steps for a successful application:
Step 1: Apply Soapy Water to Window
Fill a spray bottle with a mixture of water and a few drops of liquid soap. Spray the solution generously on the window surface. This soapy layer will allow you to adjust the film’s position during installation.
Step 2: Place the Film on the Window
Carefully peel the backing off the window film and apply it to the wet glass. Start at the top of the window and work your way down, ensuring the film is evenly aligned. The soapy water will help you slide the film into the correct position.
Step 3: Smooth Out Air Bubbles
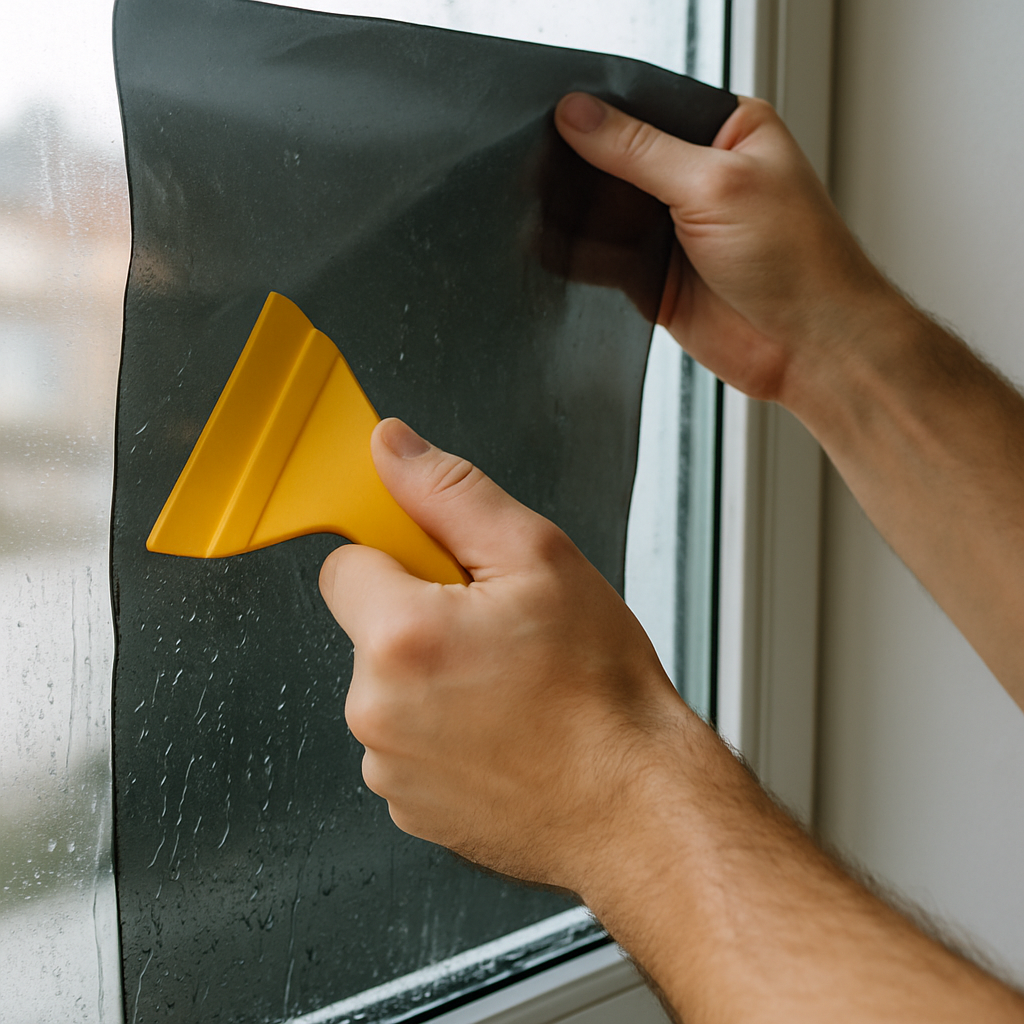
Use a squeegee to gently press the film onto the window, starting from the center and moving towards the edges. This will help eliminate any air bubbles and ensure a smooth finish. Be patient and thorough in this step to achieve the best results.
Step 4: Trim Excess Film
Once the film is securely in place, use a utility knife to trim any excess material around the edges of the window. Be sure to use a steady hand for clean, straight lines.
Step 5: Final Inspection
Finally, inspect the window to ensure the film is applied evenly and free of bubbles. Make any necessary adjustments while the film is still wet, as it becomes more difficult to reposition once dry.
Post-Installation Care and Maintenance

by Sam Moghadam (https://unsplash.com/@sammoghadam)
After the installation is complete, avoid cleaning the windows for at least a week to allow the film to fully adhere. When it’s time to clean, use a soft cloth and mild cleaning solution to avoid scratching the film.
Potential Challenges and Solutions
While installing heat reducing window film is relatively straightforward, you may encounter some common challenges:
- Air Bubbles: If you notice persistent bubbles, use the squeegee to gently push them towards the nearest edge. Persistent bubbles can often be resolved by slightly lifting the film and reapplying with more soapy water.
- Film Peeling: Ensure that the edges of the film are firmly pressed against the glass to prevent peeling. Use additional soapy water if necessary to improve adhesion.
The Benefits of Professional Installation
While DIY installation is a feasible option, hiring a professional can ensure optimal results and save time. Professionals have the expertise and tools needed to handle challenging installations and can provide warranties on their work.
Choosing a Professional Installer
When selecting a professional for window film installation, consider their experience and customer reviews. A reputable installer will offer a consultation to discuss your specific needs and recommend the best type of film for your home.
Conclusion
Installing heat reducing window film is an effective way to enhance your home’s energy efficiency, reduce glare, and protect your interiors from UV damage. Whether you choose to DIY or hire a professional, understanding the installation process will help you achieve a beautiful and functional result. By following these tips and using the right materials, you can enjoy a cooler, more comfortable living environment.
Remember, a well-installed window film not only improves the comfort of your home but also adds value by lowering energy costs and preserving the beauty of your interiors. Consider integrating this solution into your home improvement projects for a blend of functionality and style.“`