When it comes to enhancing the comfort and energy efficiency of a home, window tinting stands out as a top choice. Not only does it add an aesthetic appeal, but it also provides practical benefits such as reducing glare, blocking UV rays, and improving temperature control. These benefits make window tinting an attractive option for homeowners looking to upgrade their living spaces. As an expert in home improvement solutions, I’m here to guide you through the essentials of home window tinting, ensuring you achieve the best results for your living space.
Window tinting is not just about cutting down on sunlight; it’s about improving the overall quality of life inside your home. By understanding the comprehensive advantages and carefully selecting the right materials, you can enjoy a host of benefits that extend far beyond mere aesthetics. This guide will take you through the critical aspects of window tinting, from understanding its benefits to choosing the right type and installation process, ensuring that your investment pays off in the long run.
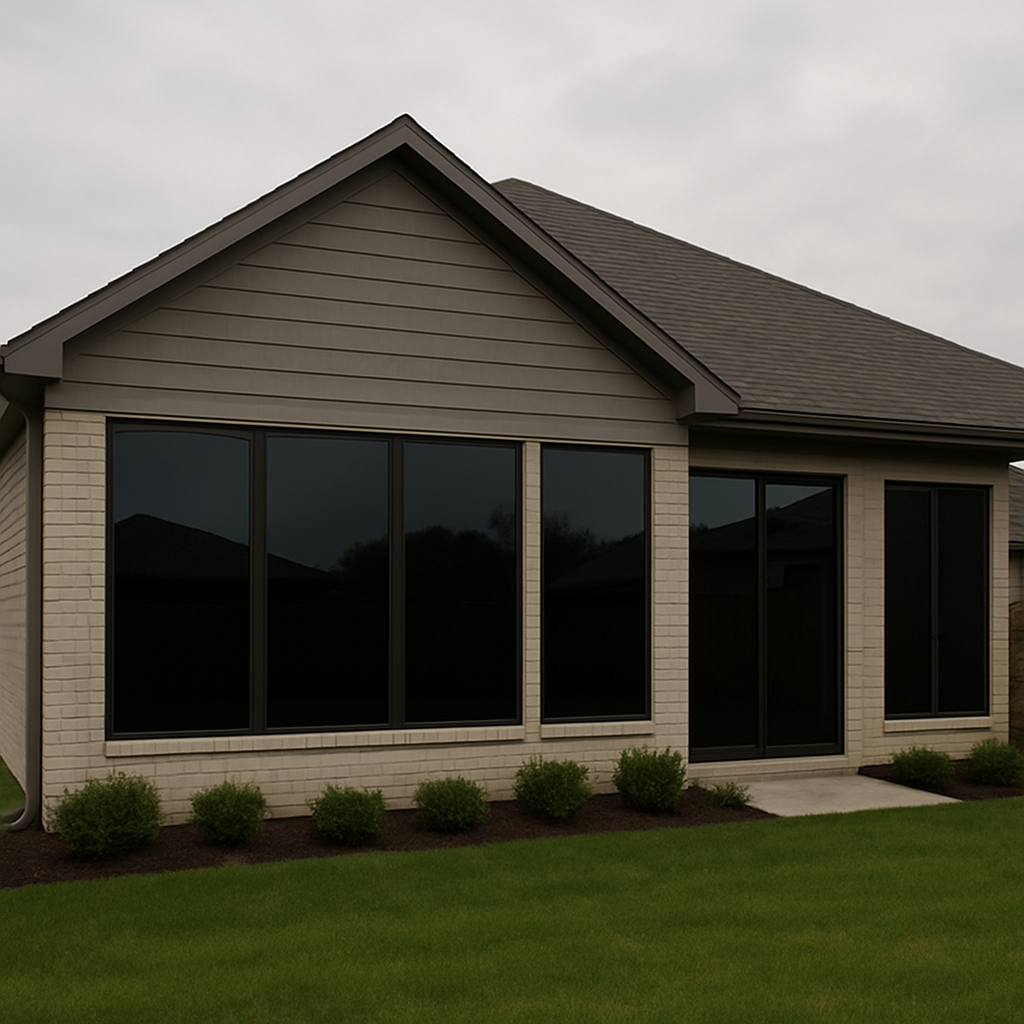
Before diving into the installation process, it’s essential to understand the advantages that window tinting brings to your home. Here are some compelling reasons why you should consider this upgrade:
Energy Efficiency
Home window tinting can significantly lower your energy bills by reducing heat gain during the summer and heat loss during the winter. The film acts as an insulator, helping maintain a consistent indoor temperature and reducing the strain on your HVAC system. This not only saves money but also contributes to a more sustainable living environment by lowering your carbon footprint.
Moreover, with rising energy costs, investing in window tinting becomes an even smarter decision. By reducing dependency on artificial heating and cooling, homeowners can enjoy a more comfortable indoor climate year-round. The initial cost of window tinting can often be offset by the long-term savings on energy bills, making it a financially sound choice.
UV Protection
One of the primary benefits of window tinting is its ability to block up to 99% of harmful UV rays. This protection prevents your furniture, flooring, and other interior elements from fading, thus prolonging their lifespan. Over time, this can save you significant amounts of money that would otherwise be spent on replacing or repairing sun-damaged items.
Beyond protecting your home interiors, UV blocking also benefits the health of your family by reducing exposure to harmful rays that can lead to skin damage and other health issues. By filtering out UV rays, window tinting creates a safer and healthier environment for you and your loved ones.
Enhanced Privacy and Security
Tinted windows offer increased privacy by limiting the view from the outside while maintaining a clear view from the inside. This feature is particularly beneficial for homes located in densely populated areas or along busy streets. With window tinting, you can enjoy natural light without compromising on privacy.
Additionally, window films can hold shattered glass together, providing an extra layer of security against break-ins and accidents. In case of a break, the film reduces the risk of injury from flying glass shards. This added security feature can be a significant consideration for families concerned about safety, offering peace of mind.
Glare Reduction
Excessive glare can be a nuisance, especially when watching TV or working on a computer. Window tinting minimizes glare, allowing you to enjoy your activities without discomfort. This improvement can lead to a more productive and enjoyable living environment, where you can focus on tasks without the distraction of bright, direct sunlight.
Reducing glare not only enhances comfort but also contributes to eye health by minimizing strain. Whether you’re working from home or enjoying a movie with your family, window tinting ensures that sunlight doesn’t interfere with your daily activities, enhancing overall satisfaction.
Choosing the Right Window Tint for Your Home
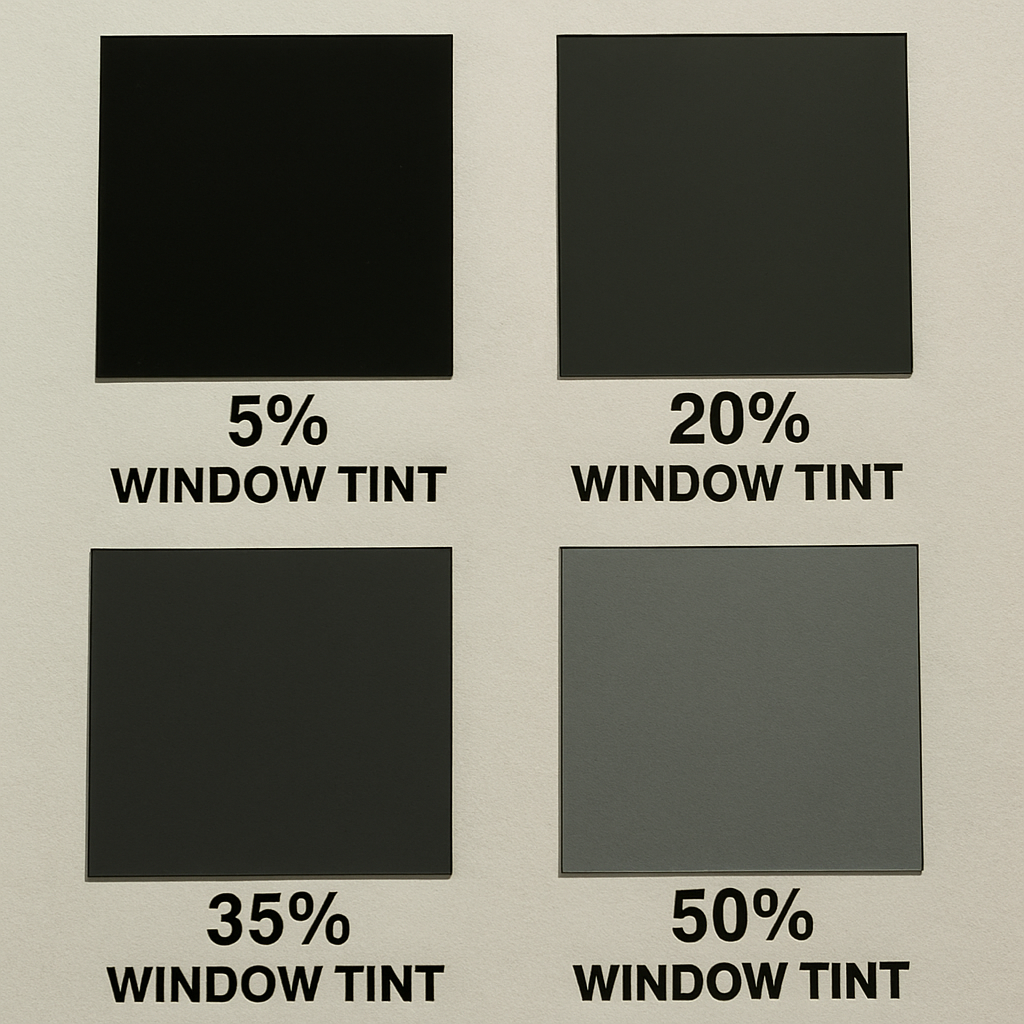
Selecting the right window tint is crucial to achieving the desired results. Here are some factors to consider:
Tint Percentage
Window tints come in various percentages, indicating the amount of visible light they let through. A lower percentage means darker tint and more privacy. Consider your privacy needs and aesthetic preferences when choosing the tint level. It’s essential to strike a balance between privacy and natural light, as overly dark tints can make interiors feel gloomy.
When selecting tint percentages, also take into account any local regulations or homeowners’ association rules regarding window tinting. Some areas have specific guidelines on allowable tint levels, and ensuring compliance will prevent potential issues.
Type of Tint
There are several types of window films available, each offering unique features:
- Dyed Film: Provides basic tinting and privacy at an affordable price. However, it may fade over time. This type of film is ideal for short-term solutions or for those on a tight budget.
- Metalized Film: Offers enhanced durability and UV protection but can interfere with electronic signals. It’s a robust option for those seeking long-term benefits and additional structural integrity.
- Ceramic Film: The most advanced option, providing excellent heat rejection, UV protection, and clarity without signal interference. Although more expensive, its superior performance justifies the investment for those seeking high-quality results.
Each type of tint serves different needs, so assess your priorities—whether it’s cost, performance, or longevity—before making a decision. Consulting with a professional can provide insights tailored to your specific situation.
Professional vs. DIY Installation
While DIY installation can be cost-effective, professional installation ensures precision and quality. A professional installer has the expertise and tools to deliver a flawless finish without the risk of bubbles or creases. This option is ideal for those who prioritize perfection and are willing to invest in a professional touch.
On the other hand, DIY installation can be a rewarding project if you’re confident in your skills and have the time to dedicate to the process. With the right tools and patience, you can achieve satisfactory results. However, consider the complexity of your windows and your experience level before opting for this route.
Preparing for Installation
Before applying window tint, proper preparation is essential to ensure a smooth and successful installation. Follow these steps:
Clean the Windows Thoroughly
Dirt and debris can interfere with the adhesive, leading to bubbles and poor adhesion. Clean the windows thoroughly using a glass cleaner and a lint-free cloth. Pay special attention to the edges and corners. A meticulous cleaning process sets the foundation for a successful tint application.
Repeat the cleaning process if necessary, as even small particles can cause imperfections. Ensure that the windows are completely dry before proceeding to the next steps to avoid any adhesion issues.
Measure and Cut the Film
Accurate measurements are crucial to avoid wastage and ensure a perfect fit. Measure the dimensions of each window and cut the film slightly larger than the window size. Use a sharp utility knife for precise cuts. Proper measurement ensures that the film covers the entire surface without leaving gaps.
Consider creating templates for particularly complex window shapes to avoid mistakes. Double-check your measurements before cutting, as precision is key to achieving a seamless finish that aligns perfectly with your windows.
Step-by-Step Installation Guide
Step 1: Prepare the Application Solution
Mix a solution of water and a few drops of baby shampoo or dish soap in a spray bottle. This solution will help the film adhere smoothly to the glass. The right consistency is crucial; too much soap can make the film slippery, while too little can affect adhesion.
Test the solution on a small area to ensure it’s effective and doesn’t leave residue. Adjust the mixture if necessary to achieve the desired consistency for optimal film application.
Step 2: Wet the Window
Spray the application solution generously on the window surface. This will allow you to easily reposition the film during installation. Ensure even coverage to facilitate smooth application and reduce the likelihood of bubbles.
Keeping the window wet throughout the application process is essential for successful repositioning. Reapply the solution as needed to maintain a workable surface.
Step 3: Apply the Film
Peel off the protective backing from the film, exposing the adhesive side. Carefully place the film on the window, starting from the top. Use a squeegee to smooth out any bubbles and ensure even adhesion.

by Foad Roshan (https://unsplash.com/@rfrsrh)
Work systematically from top to bottom, applying consistent pressure with the squeegee to remove bubbles and wrinkles. Take your time, as rushing can lead to imperfections that affect the overall appearance and durability.
Step 4: Trim Excess Film
Once the film is applied, use a utility knife to trim any excess material along the edges. Be sure to use a steady hand for clean, straight cuts. Trimming is crucial for a professional-looking finish and prevents peeling.
Carefully inspect the edges to ensure there are no overhangs or gaps. A precise trim enhances the film’s longevity and maintains its neat appearance.
Step 5: Final Squeegeeing
Perform a final pass with the squeegee to remove any remaining bubbles and ensure proper adhesion. Pay attention to the edges to prevent peeling. This step solidifies the film’s placement and ensures a smooth, bubble-free finish.
Regularly check for any areas that may need additional smoothing. Proper squeegeeing is vital for the film’s durability and visual appeal.
Post-Installation Care and Maintenance
Proper maintenance will extend the life of your window tint and keep it looking great. Here are some tips:
Allow Time to Cure
Avoid cleaning or touching the tinted windows for at least a week to allow the adhesive to cure fully. During this time, any remaining bubbles should dissipate. This curing period is crucial for the film to settle and adhere securely to the glass.
Inform household members about the curing period to prevent accidental damage or premature cleaning, which could affect the tint’s performance.
Use Gentle Cleaning Methods
When cleaning tinted windows, use a mild soap solution and a soft cloth. Avoid abrasive materials and ammonia-based cleaners, as they can damage the tint. Regular, gentle cleaning helps maintain the film’s clarity and effectiveness.
Establish a routine cleaning schedule to prevent buildup of dirt and grime. Consistent care will preserve the tint’s appearance and extend its lifespan, ensuring you continue to enjoy its benefits.
Conclusion
Home window tinting is a worthwhile investment that enhances both the functionality and aesthetics of your living space. By following these installation tips, you can enjoy the benefits of reduced energy costs, increased privacy, and improved indoor comfort. The right preparation and execution ensure that your window tinting project is successful and yields maximum returns.
With the right preparation, tools, and knowledge, installing window tint can be a rewarding DIY project. However, if you prefer a flawless finish without the hassle, consider hiring a professional installer to ensure the job is done right. A professional touch can save time and ensure a perfect result that enhances your home’s value.
Whether you’re an interior designer seeking cost-effective solutions or a homeowner looking to upgrade your space, window tinting offers a range of benefits that make it a smart choice. Embrace the transformation and enjoy a more comfortable, energy-efficient home. The decision to tint your windows is an investment in the quality of your living environment and your home’s long-term value.