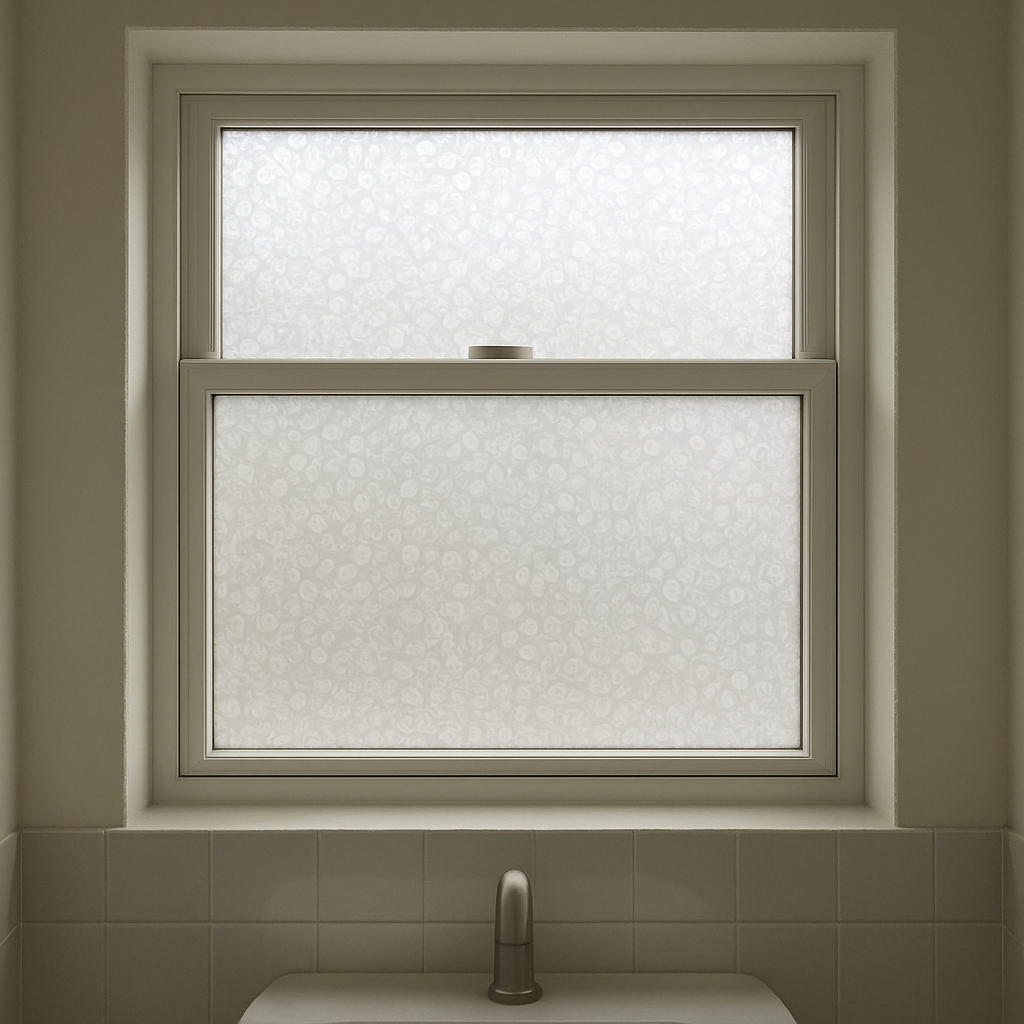
When it comes to enhancing the privacy of your bathroom without sacrificing natural light, bathroom window privacy film is an excellent solution. This versatile material offers a stylish and functional way to transform your bathroom windows. Whether you’re an interior designer looking for cost-effective solutions or a homeowner aiming to upgrade your space, window privacy film can meet your needs. In this article, we’ll explore essential tips for installing bathroom window privacy film, ensuring a seamless and professional finish.
Before diving into the installation process, it’s important to understand why bathroom window privacy film is a popular choice. Firstly, it provides an effective layer of privacy, preventing outside views while allowing light to filter through. This means you can enjoy a bright bathroom without compromising your personal space. Additionally, privacy window film can enhance the aesthetics of your bathroom, offering various designs and patterns to suit your style. Furthermore, it contributes to energy efficiency by reducing heat gain and glare. According to the U.S. Department of Energy, window coverings and films can help improve energy efficiency and indoor comfort. You can also explore the benefits of window films to better understand how they enhance comfort, privacy, and efficiency.
Preparation is Key
Before you begin the installation, gather all the necessary tools and materials. You will need:
- Privacy window film
- Measuring tape
- Utility knife
- Squeegee or credit card
- Spray bottle with soapy water
- Soft cloth or paper towels
- Ruler or straight edge
Measure and Cut the Film
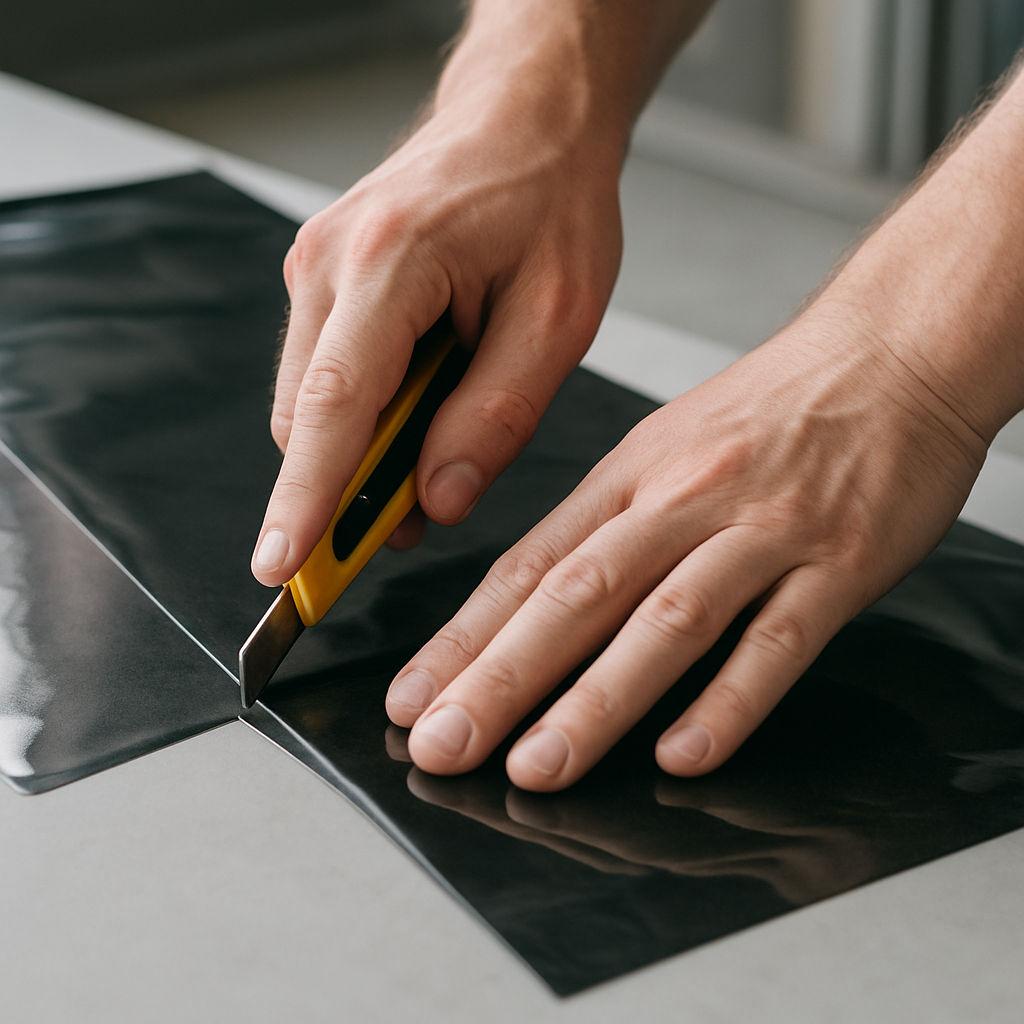
- Measure the Window: Begin by measuring the dimensions of your bathroom window. Use a measuring tape to get the width and height, ensuring accuracy to avoid wastage.
- Cut the Film: Roll out the privacy window film on a flat surface. Using the measurements obtained, mark the dimensions on the film with a ruler and pencil. Carefully cut the film with a utility knife, ensuring a straight edge.
Clean the Window Thoroughly
Cleaning the window is a crucial step in the installation process. Any dirt, dust, or grease on the glass can affect the adhesion of the film, leading to bubbles or peeling.
- Wash the Window: Use soapy water and a soft cloth to wash the window thoroughly. Pay attention to corners and edges where dirt tends to accumulate.
- Dry the Window: After cleaning, dry the window with a paper towel or a clean cloth. Ensure the glass is completely dry before proceeding to the next step.
Applying the Film

by Davis Patton (Unsplash)
- Wet the Window: Fill a spray bottle with soapy water and generously spray the window surface. This helps the film adhere smoothly and allows for adjustments during placement.
- Peel and Position the Film: Carefully peel the backing off the cut piece of privacy film. Start at the top edge of the window, positioning the film onto the wet glass. The soapy water allows you to slide the film into place.
- Smooth the Film: Use a squeegee or a credit card wrapped in a soft cloth to smooth out the film. Begin at the center and work towards the edges, pushing out any air bubbles and excess water.
- Trim Excess Film: Once the film is positioned and smoothed, trim any excess film around the edges using a utility knife. Use a straight edge to guide your cuts for a neat finish.
Final Touches
Check for Bubbles
After installation, inspect the window film for any remaining bubbles. If you find any, use the squeegee to gently push them towards the edge of the film. Small bubbles may disappear as the film settles over time.
Allow the Film to Cure
Allow the privacy film to cure for at least 24 hours. During this time, avoid cleaning the window or exposing it to moisture. This ensures the adhesive sets properly and the film remains secure. The Environmental Protection Agency (EPA) also emphasizes maintaining indoor environments carefully to support air quality and material performance. For additional guidance on maintaining indoor environmental quality, see recommendations from the CDC Indoor Environmental Quality resources.
Maintenance and Longevity
To maintain the appearance and functionality of your bathroom window privacy film, follow these care tips:
- Cleaning: Clean the film with a soft cloth and mild soapy water. Avoid abrasive cleaners or rough materials that could scratch the film.
- Avoid Harsh Conditions: While privacy films are durable, prolonged exposure to extreme temperatures or direct sunlight can shorten their lifespan.
- Inspect Regularly: Periodically check the edges of the film for any signs of peeling or damage. Promptly address any issues to prevent further deterioration.
Creative Design Ideas with Privacy Film

by Bao Menglong (Unsplash)
Bathroom window privacy film isn’t just functional; it’s also an opportunity to express creativity. Here are some design ideas to inspire you:
- Frosted Glass Effect: Achieve a classic, elegant look with frosted privacy film that mimics the appearance of etched glass.
- Patterned Designs: Choose from a variety of patterns, such as geometric shapes or floral motifs, to add visual interest to your bathroom.
- Tinted Films: Consider tinted privacy films that not only enhance privacy but also add a subtle hue to your bathroom ambiance.
Conclusion
Installing bathroom window privacy film is a straightforward DIY project that can significantly enhance the privacy, aesthetics, and energy efficiency of your space. By following these installation tips and maintenance guidelines, you can achieve a professional finish that complements your interior design. Whether you’re an interior designer seeking innovative solutions or a homeowner looking to upgrade, privacy window film is a versatile and stylish choice. Embrace the transformation and enjoy the benefits of a private, well-lit bathroom.