Categories
Window Films & Tints

Installation Tips for Home Window Tinting

Enhancing your home’s comfort and aesthetics with window tinting is a wise decision. Not only does it provide privacy and reduce glare, but it also boosts energy efficiency, lowering your utility bills. This practical addition to your home serves multiple purposes, making it a valuable investment. As someone familiar with home improvement solutions, I understand the importance of precision and quality when it comes to window film installations. In this guide, I’ll share essential tips for a successful home window tinting project, ensuring that you gain the most from your investment.

Window tinting is not just about aesthetics; it also contributes significantly to the functionality of your home. When installed correctly, window films can enhance the overall ambiance of your living space, making it more enjoyable and comfortable year-round. Additionally, with the rising costs of energy, the energy-saving benefits of window tinting cannot be overstated. By taking the time to carefully plan and execute your tinting project, you can enjoy a host of benefits that extend beyond just visual appeal.

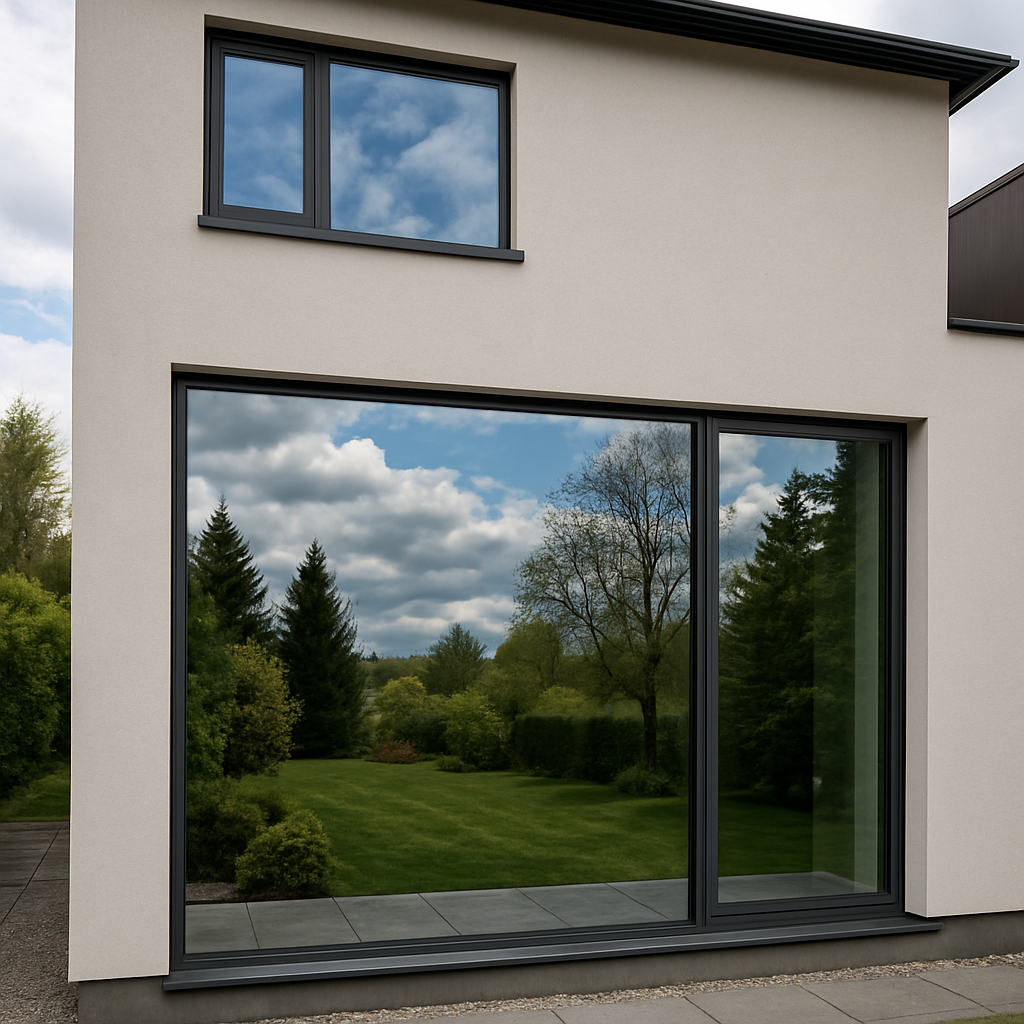
window_tinting_benefits

Before diving into the installation tips, it’s crucial to understand why home window tinting is beneficial. Window tinting offers a range of advantages:

  • Privacy and Security: Tinted windows provide an extra layer of privacy, preventing prying eyes from seeing inside while still allowing natural light to enter. This feature is especially valuable for homes in densely populated areas or those with large windows facing public spaces. Additionally, some window films offer added security by holding glass together in case of breakage, reducing the risk of injury from shattered glass.
  • Energy Efficiency: By reducing heat gain during the summer and heat loss during the winter, window films can significantly cut down on energy consumption, thereby reducing energy bills. This energy efficiency also contributes to a smaller carbon footprint, making window tinting an environmentally friendly choice. The insulating properties of window films help maintain a consistent indoor temperature, reducing the strain on heating and cooling systems and extending their lifespan.
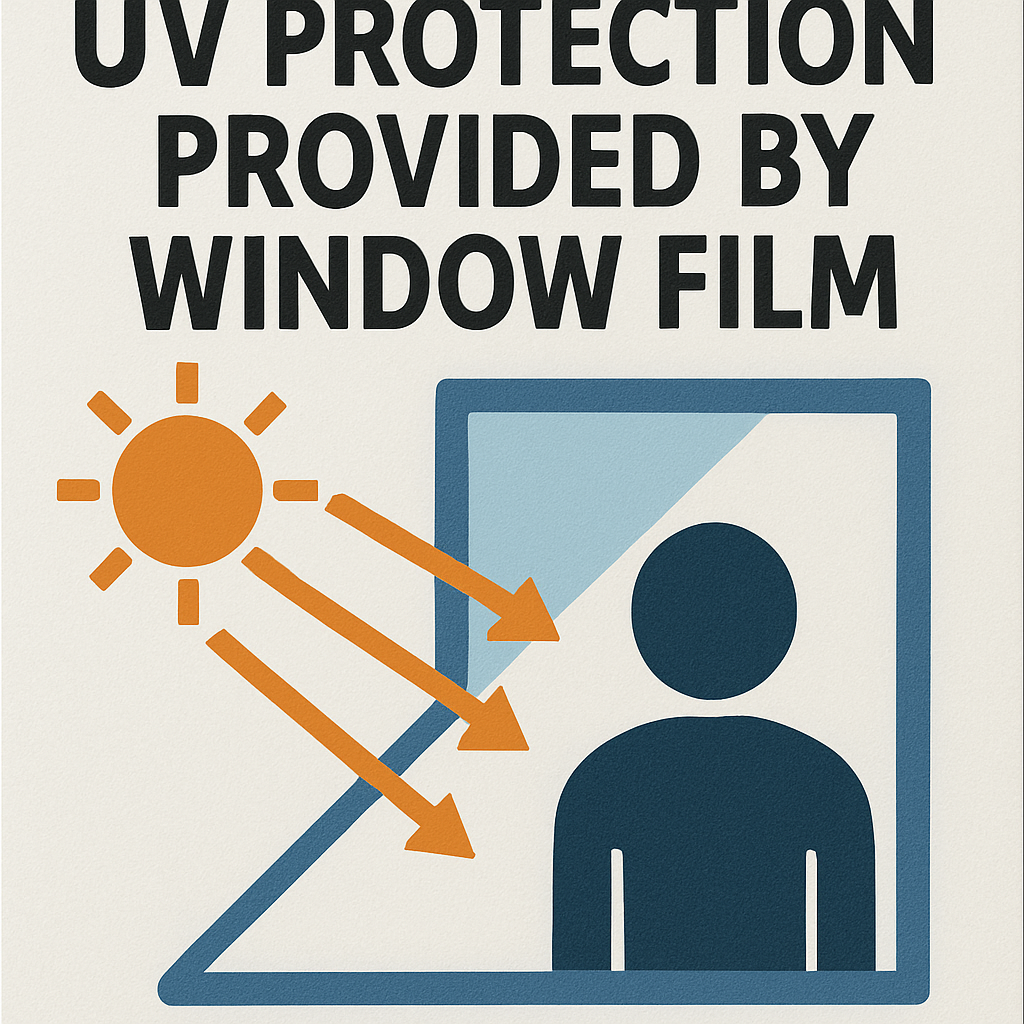
  • UV Protection: Window films can block up to 99% of harmful ultraviolet rays, protecting your furniture, flooring, and artwork from fading. This protection extends the life of your interior furnishings, preserving their appearance and value over time. UV protection is particularly important for homes with large windows or sunrooms, where prolonged sun exposure can cause significant damage. For more background on UV risks, see Health Canada’s overview of ultraviolet radiation.
  • Glare Reduction: Tinted windows minimize glare on screens and reflective surfaces, creating a more comfortable indoor environment. This reduction in glare enhances the enjoyment of electronic devices and improves visibility, making it easier to work from home or enjoy leisure activities. By controlling the amount of sunlight entering a room, window films also help prevent eye strain and enhance overall comfort. If you want a broader energy comfort context (including films), the U.S. Department of Energy covers this in its guide to energy-efficient window coverings.

Essential Tools and Materials

Before you start the installation process, gather the necessary tools and materials. Having everything at hand ensures a smoother workflow. Here’s a list of what you’ll need:

  • Window film: Choose a film that suits your specific needs, whether for privacy, UV protection, or aesthetics.
  • Spray bottle with soapy water: This will serve as a lubricant, allowing you to position the film accurately.
  • Squeegee: Essential for smoothing out the film and eliminating air bubbles.
  • Utility knife: A sharp blade is crucial for trimming the film precisely.
  • Measuring tape: Accurate measurements ensure you cut the film to the correct size.
  • Lint-free cloth: Used for cleaning and ensuring a dust-free surface.
  • Glass cleaner: Provides a spotless surface for film application.

Having these tools and materials ready not only streamlines the process but also helps prevent common mistakes that can occur during installation. Investing in quality tools, such as a good squeegee and utility knife, can make a significant difference in the final outcome, ensuring a professional-looking finish.

Preparing for Installation

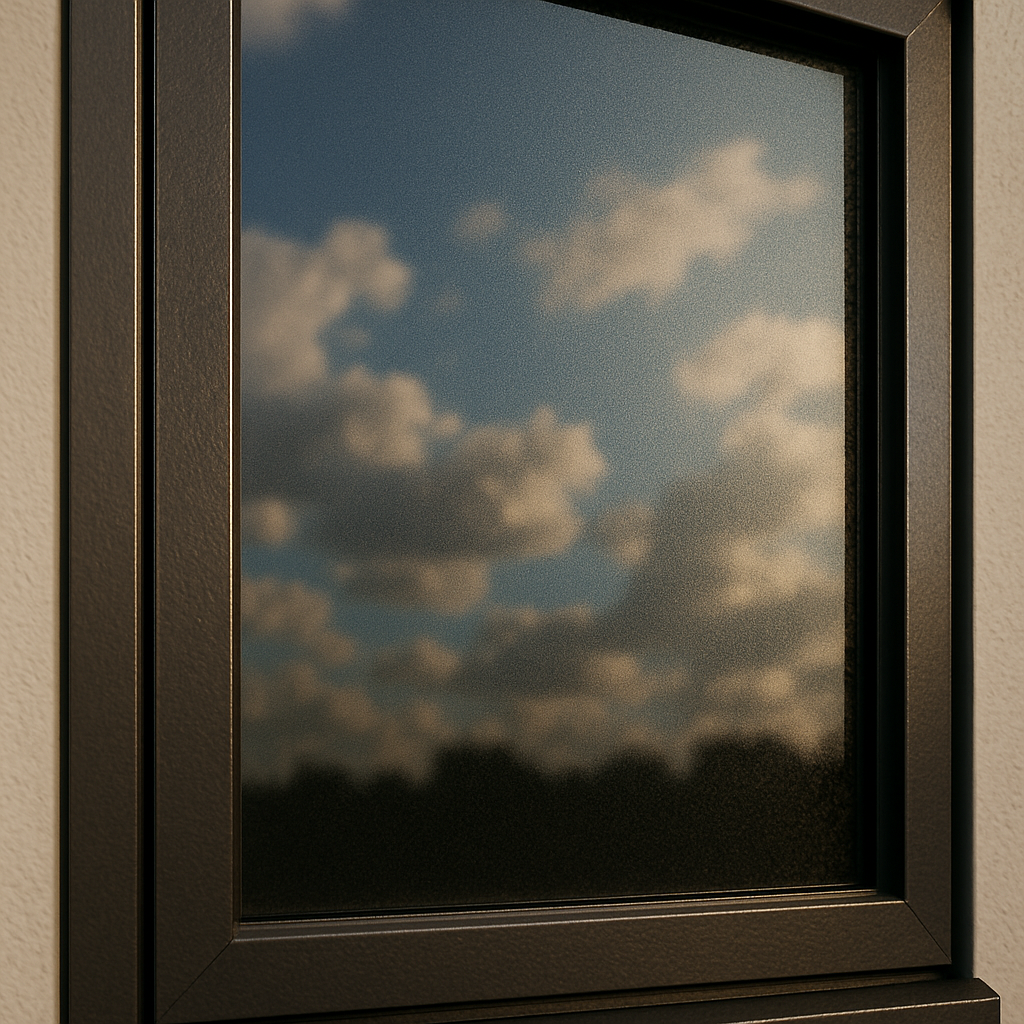
preparing_window

Preparation is key to a successful window tinting project. Follow these steps to ensure your windows are ready for film application:

Clean the Windows Thoroughly

Dirt, dust, and grime can cause bubbles and imperfections under the film. Use a glass cleaner and a lint-free cloth to clean the windows thoroughly. Pay special attention to corners and edges, as these areas tend to accumulate more dirt. Consider cleaning the windows a day before installation to allow them to dry completely, preventing moisture-related issues during film application.

Cleaning is a critical step that shouldn’t be rushed. A spotless surface ensures the adhesive on the film bonds properly with the glass, enhancing durability and appearance. If residue or particles are left on the window, they can create unsightly bubbles or cause the film to peel prematurely, undermining the effectiveness of your tinting efforts.

Measure and Cut the Film

Accurate measurements are essential to avoid waste and ensure a perfect fit. Measure the dimensions of each window and cut the film slightly larger than the window size. This extra allowance will help during the trimming process. Use a flat, clean surface to lay out and cut the film, ensuring precision in every cut.

Taking the time to measure carefully can save you from costly mistakes. If you’re tinting multiple windows, label each piece of film according to its corresponding window to avoid confusion during installation. This organization can streamline the process and reduce the likelihood of errors.

Set Up a Clean Work Area

Ensure your work area is clean and free from dust. Lay the film on a flat surface, and use a clean cloth to wipe any debris from the film before application. Creating a controlled environment helps prevent contaminants from affecting the adhesive or surface of the film.

A tidy workspace contributes to a more efficient workflow and better results. Consider using a drop cloth or protective covering on your workspace to catch any debris or excess water, keeping the area tidy and minimizing cleanup time after the installation is complete.

Step-by-Step Installation Guide

Now that your windows are clean and your film is ready, it’s time to start the installation process.

Step 1: Wet the Window

Fill a spray bottle with a solution of soapy water. Spray the window generously to keep the surface wet. This will allow you to slide the film into position easily. The soapy solution acts as a lubricant, providing the flexibility needed to make adjustments.

Ensuring the window is adequately wet is crucial for a smooth application. The slippery surface allows you to reposition the film as needed without damaging it, giving you the opportunity to achieve a perfect fit and alignment.

Step 2: Apply the Film

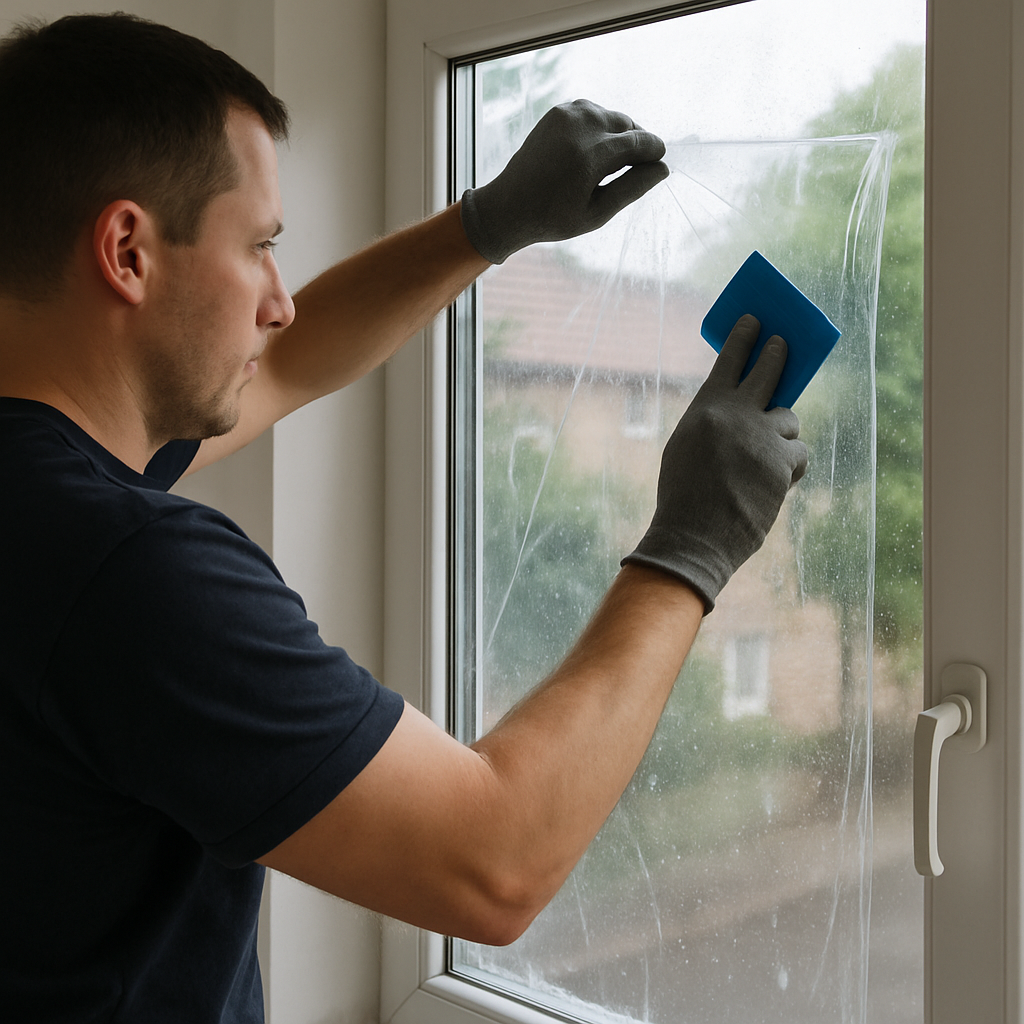
Peel the backing from the film and carefully apply it to the wet window. Start from the top and work your way down, using your hands to smooth out any air bubbles as you go. This initial placement sets the stage for a successful installation, so take your time to get it right.

Applying the film can be a delicate process, so patience is key. If you’re working on a large window, consider enlisting the help of a friend to ensure the film stays aligned and doesn’t fold over onto itself. Teamwork can make the application process more manageable and efficient.

Step 3: Use a Squeegee

Using a squeegee, gently press the film from the center outwards to remove excess water and air bubbles. Be patient during this process to ensure a smooth finish. Work slowly and methodically, paying attention to any areas where bubbles may form.

The squeegee is an essential tool in achieving a professional finish. By carefully pressing out the water and air, you’re helping the film adhere securely to the glass, preventing future issues like peeling or bubbling. Take your time to ensure every section is smooth and bubble-free.

Step 4: Trim Excess Film

Once the film is in place, use a utility knife to trim the excess film around the edges. Be careful not to cut into the window frame. This step is crucial for a clean, polished appearance and helps the film fit snugly within the window frame.

Precision is important during the trimming process. Use a steady hand and take your time to follow the contours of the window frame accurately. A well-trimmed edge not only looks better but also ensures the film remains secure over time.

Step 5: Final Squeegee

After trimming, use the squeegee again to ensure all bubbles and excess water are removed. Pay attention to the edges and corners. This final pass ensures the film is fully adhered and smooth, completing the installation process.

The final squeegee step is your opportunity to perfect the installation. Check for any remaining imperfections and address them promptly. A careful final inspection can make all the difference in achieving a flawless finish that enhances both the appearance and performance of your window tinting.

Post-Installation Care

window_care

by Egor Myznik (https://unsplash.com/@vonshnauzer)

Proper care after installation is crucial for the longevity and effectiveness of your window tinting. Here are some tips to follow:

Allow Time for Curing

Window film requires time to cure fully. Avoid cleaning the windows for at least a week after installation to allow the adhesive to set properly. This curing period is vital for ensuring the film adheres securely and functions as intended.

During the curing period, it’s important to avoid touching or disturbing the film. Any manipulation before the adhesive sets can compromise its performance, leading to peeling or bubbling. Patience during this stage will pay off in terms of durability and appearance.

Use Mild Cleaning Solutions

When cleaning tinted windows, use mild, non-abrasive cleaning solutions and a soft cloth. Avoid ammonia-based cleaners, as they can damage the film. Opt for gentle products that won’t degrade the film’s surface or affect its longevity.

Regular maintenance with the right cleaning solutions will keep your tinted windows looking pristine. By preserving the integrity of the film, you ensure that it continues to provide UV protection, energy efficiency, and privacy benefits for years to come.

Inspect Regularly

Regularly inspect the film for signs of peeling or bubbling. Address any issues promptly to maintain the film’s effectiveness and appearance. Early detection of problems can prevent them from worsening and requiring more extensive repairs.

Routine inspections allow you to catch small issues before they become major problems. By staying vigilant, you can ensure that your window tinting remains in excellent condition, providing the benefits you invested in without interruption.

Choosing the Right Window Film

Not all window films are created equal, and choosing the right one is crucial for achieving your desired results. Consider the following factors:

  • Type of Film: There are various types of window films, including reflective, tinted, and frosted. Each serves different purposes, so choose one that aligns with your needs. Reflective films are ideal for privacy and heat reduction, while frosted films offer decorative and privacy benefits.
  • Quality: Invest in high-quality films from reputable manufacturers. While they may cost more upfront, they offer better durability and performance. High-quality films are less likely to fade, bubble, or peel, providing a longer-lasting solution.
  • Warranty: Look for films that come with a warranty. This provides peace of mind and protection against defects and poor performance. A good warranty indicates the manufacturer’s confidence in their product and offers reassurance that you’re making a sound investment.

Selecting the right film involves considering both functional needs and aesthetic preferences. By understanding the differences between film types and prioritizing quality, you can make an informed decision that enhances your home and meets your specific requirements.

Conclusion

Home window tinting is an excellent way to enhance your living space’s comfort, privacy, and energy efficiency. By following these installation tips and choosing the right film, you can achieve professional-looking results that will last for years. This investment not only adds value to your home but also contributes to a more sustainable and enjoyable living environment.

As an interior designer, offering window tinting as a solution to your clients can provide them with both aesthetic and functional benefits. It complements interior designs while promoting eco-friendliness and cost-effectiveness. Embrace this innovative solution to enhance your projects and meet your clients’ needs effectively, ensuring satisfaction and success in your design endeavors.

Window tinting is more than just a home improvement; it’s a versatile solution that addresses multiple needs simultaneously. By integrating this option into your design portfolio, you can offer clients a comprehensive approach to enhancing their homes, delivering results that are both beautiful and practical.

Categories
Window Films & Tints

How to Choose 1 Way Window Film

In the quest for privacy and style, one-way window films have emerged as a popular choice for homeowners and interior designers alike. Not only do they add an extra layer of privacy to your living spaces, but they also contribute to energy efficiency and enhanced aesthetics. Choosing the right 1-way window film can seem daunting, but with a few key considerations, you can make an informed decision that suits your needs perfectly. For a deeper understanding, see the one way privacy window film guide.

1-way window films, also known as privacy window films, allow you to see out while preventing outsiders from seeing in. This unique feature makes them ideal for rooms that require privacy without sacrificing natural light. Available in various shades and designs, they can seamlessly blend with your interior décor. According to the U.S. Department of Energy, window treatments that control solar heat gain can improve comfort and efficiency in buildings.

Key Benefits of 1-Way Window Film

Privacy and Security

The primary benefit of 1-way window film is enhanced privacy. Whether you live in a bustling neighborhood or want to secure an office space, these films ensure that prying eyes stay out while you enjoy an unobstructed view of the outside world.

Energy Efficiency

By reducing the amount of sunlight entering your space, 1-way window films can significantly lower cooling costs during the summer. They help maintain a consistent indoor temperature, contributing to energy efficiency and resulting in lower utility bills. The National Renewable Energy Laboratory highlights how window technologies can play a major role in reducing building energy use.

Energy efficiency of window films

UV Protection

These films block harmful UV rays that can cause fading of furniture, flooring, and artwork. By installing a privacy window film, you protect your interiors from sun damage, extending the lifespan of your furnishings.

Factors to Consider When Choosing a 1-Way Window Film

Level of Privacy

Different films offer varying levels of privacy. Consider the opacity of the film and how much natural light you want to retain. For areas requiring maximum privacy, opt for darker films.

Aesthetic Appeal

1-way window films come in a variety of styles, including frosted, mirrored, and decorative designs. Choose a style that complements your interior design to enhance the visual appeal of your space.

Quality and Durability

Invest in high-quality films that are durable and easy to maintain. Quality films offer better UV protection, last longer, and are less likely to peel or bubble over time.

Installation Process

Decide whether you will install the film yourself or hire a professional. Professional installation ensures precision and a flawless finish, but DIY kits are available for those who are handy and prefer a more cost-effective approach.

Conclusion

Selecting the right 1-way window film involves balancing privacy needs, aesthetic preferences, and functional benefits. By understanding the unique features and advantages of privacy window films, you can enhance both the style and efficiency of your living spaces. Whether for residential or commercial use, these films provide an effective solution for privacy, energy savings, and UV protection. As a trusted expert in home improvement solutions, I encourage you to consider these factors carefully to achieve the best results for your space.

Categories
Window Films & Tints

Common Questions About 25 Vlt Window Tint

In the realm of home improvement, window tinting has become a popular choice for homeowners seeking to enhance both the aesthetics and functionality of their living spaces. Among the various options available, the 25 VLT (Visible Light Transmission) window tint stands out as a versatile solution. If you’re considering window film for your home, you probably have a few questions. This article aims to address some of the most common inquiries about 25 VLT window tint and how it can benefit your home.

Visible Light Transmission (VLT) refers to the amount of visible light that passes through a window film. According to the U.S. Department of Energy, window films can significantly improve energy efficiency by reducing heat gain. A 25 VLT window tint allows 25% of visible light to penetrate, meaning it blocks 75% of the light. This level of tinting provides a balance between maintaining privacy and allowing natural light to enter your home.

Benefits of 25 VLT Window Tint

  1. Privacy Enhancement: With 25% light transmission, this tint offers a good level of privacy without completely darkening your space. It’s an excellent choice for rooms where you want to maintain outside views while ensuring indoor privacy.
  2. Energy Efficiency: By reducing the amount of sunlight entering your home, 25 VLT window tint helps lower cooling costs. It minimizes heat gain in summer, leading to reduced air conditioning usage and energy savings.
  3. Glare Reduction: This tint level effectively cuts down on glare from the sun, making it more comfortable to watch TV or use electronic devices without straining your eyes.
  4. UV Protection: A significant advantage of window film is its ability to block harmful UV rays. The U.S. Environmental Protection Agency explains that UV exposure can damage materials and contribute to fading, and Health Canada also outlines key UV risks and safety considerations. The 25 VLT tint protects your furnishings, flooring, and interior decor from fading due to sun exposure.

Is 25 VLT Suitable for All Windows?

While 25 VLT window tint is versatile, it’s essential to consider the specific requirements of each room. For instance, bedrooms and bathrooms might benefit from a darker tint for enhanced privacy, while living rooms and kitchens can enjoy the natural light with 25 VLT.

Considerations for Different Room Types

  • Living Rooms: Perfect for balancing natural light with privacy, the 25 VLT tint is ideal for living areas where you spend most of your day.
  • Bedrooms: Depending on your preference for natural light in the morning, you may opt for a darker tint. However, 25 VLT still provides a comfortable balance of light and privacy.
  • Bathrooms: Privacy is crucial in bathrooms. Consider using a combination of window treatments for optimal privacy and style.

How Does 25 VLT Window Tint Affect Interior Design?

Modern living room with window tint

For interior designers, window tinting offers an opportunity to enhance the aesthetics of a space while solving practical challenges. The subtle yet effective nature of 25 VLT tint complements various design styles, from modern to traditional.

Aesthetic Appeal

  • Color Consistency: The neutral tone of 25 VLT tint blends seamlessly with different color palettes, ensuring that your design intentions remain undisturbed.
  • Sleek Finish: Tinted windows provide a sleek, polished look to both the interior and exterior of a home, adding to the overall appeal.
  • Versatility: Whether your design focuses on bold statements or understated elegance, 25 VLT tint adapts to various themes without overpowering the space.

Can 25 VLT Window Tint Be Installed on All Window Types?

Most residential windows can accommodate 25 VLT window tint, but it’s essential to consult with a professional installer to ensure compatibility with your specific window type and material.

Professional Installation

Engaging a skilled installer guarantees that the window film is applied correctly, free of bubbles or imperfections, and in a manner that maximizes its lifespan. Additionally, professionals can provide insights on the best tint options based on window orientation and the specific needs of each room.

What Maintenance is Required for 25 VLT Window Tint?

Cleaning tinted windows

by Anna Barabanova (https://unsplash.com/@annabarabanova)

One of the advantages of window film is its low maintenance. However, to keep your 25 VLT tint in optimal condition, consider these simple care tips:

Cleaning Tips

  1. Use Soft Cloths: Clean the film with a soft, non-abrasive cloth to prevent scratches.
  2. Mild Cleaning Solutions: Opt for a mild soap solution or a cleaner specifically designed for window film.
  3. Avoid Harsh Chemicals: Steer clear of ammonia-based cleaners as they can damage the film over time.
  4. Regular Dusting: Regularly dust the windows to maintain clarity and appearance.

How Does 25 VLT Window Tint Contribute to Energy Efficiency?

Window tinting is an effective way to improve energy efficiency in your home. By reducing heat gain, 25 VLT window tint helps maintain a consistent indoor temperature, thereby reducing the need for air conditioning during hot months. This not only lowers energy bills but also contributes to a more sustainable living environment.

Environmental Impact

  • Carbon Footprint Reduction: By using less energy for cooling, you reduce your home’s carbon footprint.
  • Long-Term Savings: While the initial investment in window tinting can be significant, the long-term savings on energy bills make it a cost-effective solution. For more ways to improve comfort and reduce heat loss around windows, see Natural Resources Canada’s guidance on upgrading windows and exterior doors.

Conclusion

Incorporating 25 VLT window tint into your home improvement plans offers numerous benefits, from enhancing privacy and reducing energy costs to complementing interior design. By understanding its advantages and maintenance requirements, you can make an informed decision that aligns with your home’s needs and your personal preferences.

Whether you are an interior designer seeking stylish solutions or a homeowner looking to improve energy efficiency, 25 VLT window tint provides an effective and aesthetically pleasing option to elevate your living space.

Categories
Window Films & Tints

Installation Tips for Home Window Tinting

When it comes to enhancing the comfort and energy efficiency of a home, window tinting stands out as a top choice. Not only does it add an aesthetic appeal, but it also provides practical benefits such as reducing glare, blocking UV rays, and improving temperature control. These benefits make window tinting an attractive option for homeowners looking to upgrade their living spaces. As an expert in home improvement solutions, I’m here to guide you through the essentials of home window tinting, ensuring you achieve the best results for your living space.

Window tinting is not just about cutting down on sunlight; it’s about improving the overall quality of life inside your home. By understanding the comprehensive advantages and carefully selecting the right materials, you can enjoy a host of benefits that extend far beyond mere aesthetics. This guide will take you through the critical aspects of window tinting, from understanding its benefits to choosing the right type and installation process, ensuring that your investment pays off in the long run.

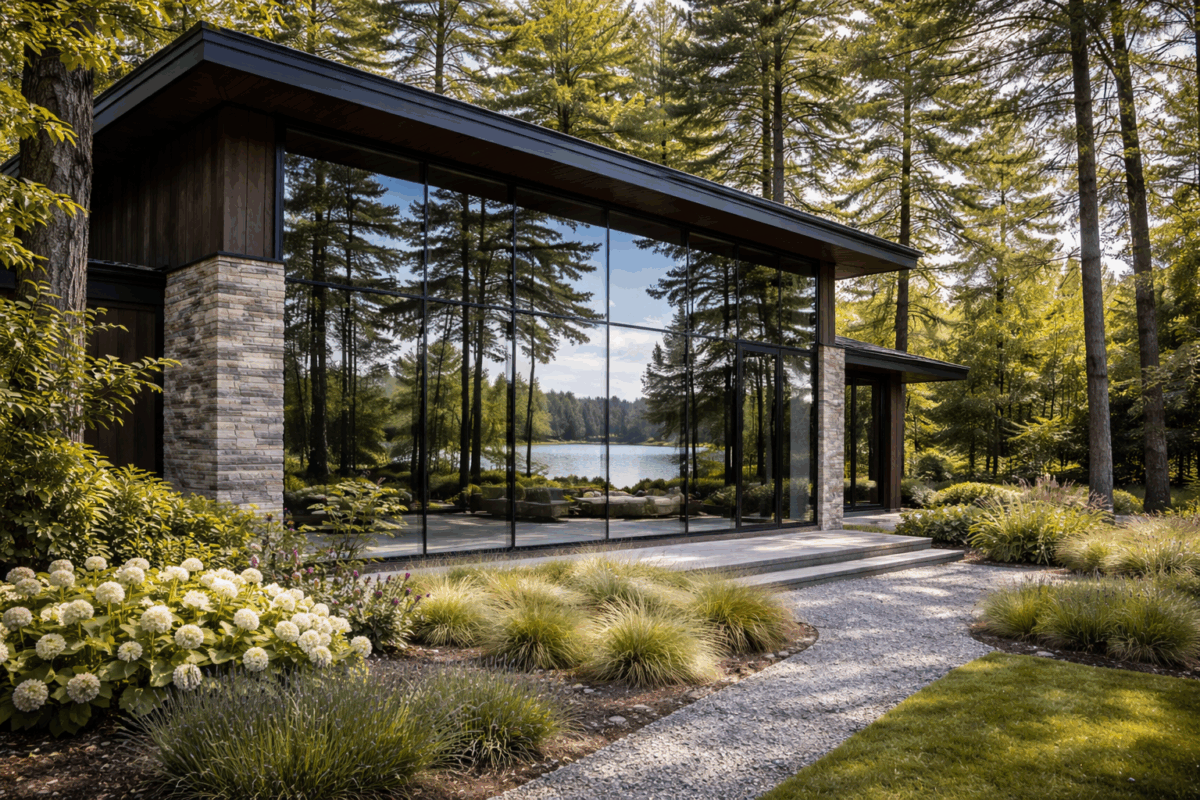
Home with tinted windows

Before diving into the installation process, it’s essential to understand the advantages that window tinting brings to your home. Here are some compelling reasons why you should consider this upgrade:

Energy Efficiency

Home window tinting can significantly lower your energy bills by reducing heat gain during the summer and heat loss during the winter. The film acts as an insulator, helping maintain a consistent indoor temperature and reducing the strain on your HVAC system. This not only saves money but also contributes to a more sustainable living environment by lowering your carbon footprint.

Moreover, with rising energy costs, investing in window tinting becomes an even smarter decision. By reducing dependency on artificial heating and cooling, homeowners can enjoy a more comfortable indoor climate year-round. The initial cost of window tinting can often be offset by the long-term savings on energy bills, making it a financially sound choice.

UV Protection

One of the primary benefits of window tinting is its ability to block up to 99% of harmful UV rays. This protection prevents your furniture, flooring, and other interior elements from fading, thus prolonging their lifespan. Over time, this can save you significant amounts of money that would otherwise be spent on replacing or repairing sun-damaged items.

Beyond protecting your home interiors, UV blocking also benefits the health of your family by reducing exposure to harmful rays that can lead to skin damage and other health issues. By filtering out UV rays, window tinting creates a safer and healthier environment for you and your loved ones.

Enhanced Privacy and Security

Tinted windows offer increased privacy by limiting the view from the outside while maintaining a clear view from the inside. This feature is particularly beneficial for homes located in densely populated areas or along busy streets. With window tinting, you can enjoy natural light without compromising on privacy.

Additionally, window films can hold shattered glass together, providing an extra layer of security against break-ins and accidents. In case of a break, the film reduces the risk of injury from flying glass shards. This added security feature can be a significant consideration for families concerned about safety, offering peace of mind.

Glare Reduction

Excessive glare can be a nuisance, especially when watching TV or working on a computer. Window tinting minimizes glare, allowing you to enjoy your activities without discomfort. This improvement can lead to a more productive and enjoyable living environment, where you can focus on tasks without the distraction of bright, direct sunlight.

Reducing glare not only enhances comfort but also contributes to eye health by minimizing strain. Whether you’re working from home or enjoying a movie with your family, window tinting ensures that sunlight doesn’t interfere with your daily activities, enhancing overall satisfaction.

Choosing the Right Window Tint for Your Home

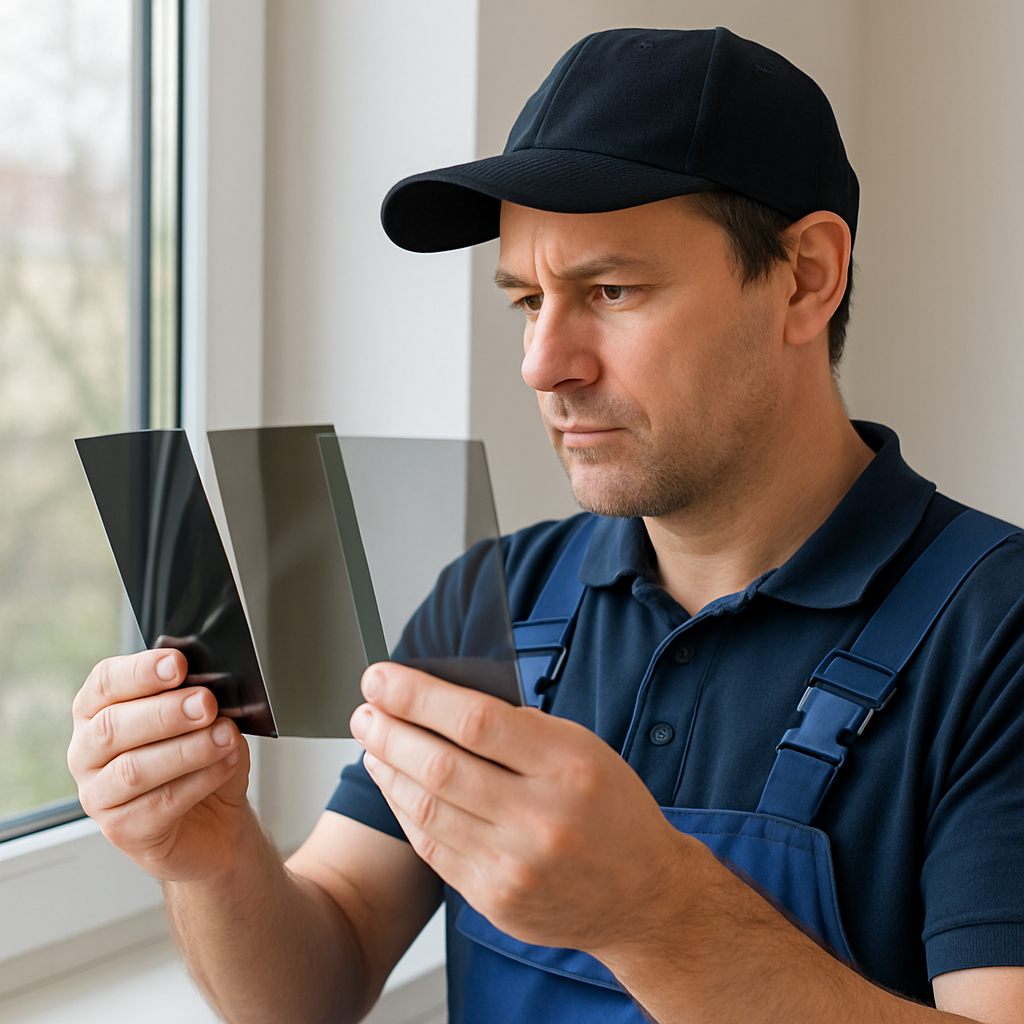
Various window tint samples

Selecting the right window tint is crucial to achieving the desired results. Here are some factors to consider:

Tint Percentage

Window tints come in various percentages, indicating the amount of visible light they let through. A lower percentage means darker tint and more privacy. Consider your privacy needs and aesthetic preferences when choosing the tint level. It’s essential to strike a balance between privacy and natural light, as overly dark tints can make interiors feel gloomy.

When selecting tint percentages, also take into account any local regulations or homeowners’ association rules regarding window tinting. Some areas have specific guidelines on allowable tint levels, and ensuring compliance will prevent potential issues.

Type of Tint

There are several types of window films available, each offering unique features:

  • Dyed Film: Provides basic tinting and privacy at an affordable price. However, it may fade over time. This type of film is ideal for short-term solutions or for those on a tight budget.
  • Metalized Film: Offers enhanced durability and UV protection but can interfere with electronic signals. It’s a robust option for those seeking long-term benefits and additional structural integrity.
  • Ceramic Film: The most advanced option, providing excellent heat rejection, UV protection, and clarity without signal interference. Although more expensive, its superior performance justifies the investment for those seeking high-quality results.

Each type of tint serves different needs, so assess your priorities—whether it’s cost, performance, or longevity—before making a decision. Consulting with a professional can provide insights tailored to your specific situation.

Professional vs. DIY Installation

While DIY installation can be cost-effective, professional installation ensures precision and quality. A professional installer has the expertise and tools to deliver a flawless finish without the risk of bubbles or creases. This option is ideal for those who prioritize perfection and are willing to invest in a professional touch.

On the other hand, DIY installation can be a rewarding project if you’re confident in your skills and have the time to dedicate to the process. With the right tools and patience, you can achieve satisfactory results. However, consider the complexity of your windows and your experience level before opting for this route.

Preparing for Installation

Before applying window tint, proper preparation is essential to ensure a smooth and successful installation. Follow these steps:

Clean the Windows Thoroughly

Dirt and debris can interfere with the adhesive, leading to bubbles and poor adhesion. Clean the windows thoroughly using a glass cleaner and a lint-free cloth. Pay special attention to the edges and corners. A meticulous cleaning process sets the foundation for a successful tint application.

Repeat the cleaning process if necessary, as even small particles can cause imperfections. Ensure that the windows are completely dry before proceeding to the next steps to avoid any adhesion issues.

Measure and Cut the Film

Accurate measurements are crucial to avoid wastage and ensure a perfect fit. Measure the dimensions of each window and cut the film slightly larger than the window size. Use a sharp utility knife for precise cuts. Proper measurement ensures that the film covers the entire surface without leaving gaps.

Consider creating templates for particularly complex window shapes to avoid mistakes. Double-check your measurements before cutting, as precision is key to achieving a seamless finish that aligns perfectly with your windows.

Step-by-Step Installation Guide

Step 1: Prepare the Application Solution

Mix a solution of water and a few drops of baby shampoo or dish soap in a spray bottle. This solution will help the film adhere smoothly to the glass. The right consistency is crucial; too much soap can make the film slippery, while too little can affect adhesion.

Test the solution on a small area to ensure it’s effective and doesn’t leave residue. Adjust the mixture if necessary to achieve the desired consistency for optimal film application.

Step 2: Wet the Window

Spray the application solution generously on the window surface. This will allow you to easily reposition the film during installation. Ensure even coverage to facilitate smooth application and reduce the likelihood of bubbles.

Keeping the window wet throughout the application process is essential for successful repositioning. Reapply the solution as needed to maintain a workable surface.

Step 3: Apply the Film

Peel off the protective backing from the film, exposing the adhesive side. Carefully place the film on the window, starting from the top. Use a squeegee to smooth out any bubbles and ensure even adhesion.

Applying window film with a squeegee

by Foad Roshan (https://unsplash.com/@rfrsrh)

Work systematically from top to bottom, applying consistent pressure with the squeegee to remove bubbles and wrinkles. Take your time, as rushing can lead to imperfections that affect the overall appearance and durability.

Step 4: Trim Excess Film

Once the film is applied, use a utility knife to trim any excess material along the edges. Be sure to use a steady hand for clean, straight cuts. Trimming is crucial for a professional-looking finish and prevents peeling.

Carefully inspect the edges to ensure there are no overhangs or gaps. A precise trim enhances the film’s longevity and maintains its neat appearance.

Step 5: Final Squeegeeing

Perform a final pass with the squeegee to remove any remaining bubbles and ensure proper adhesion. Pay attention to the edges to prevent peeling. This step solidifies the film’s placement and ensures a smooth, bubble-free finish.

Regularly check for any areas that may need additional smoothing. Proper squeegeeing is vital for the film’s durability and visual appeal.

Post-Installation Care and Maintenance

Proper maintenance will extend the life of your window tint and keep it looking great. Here are some tips:

Allow Time to Cure

Avoid cleaning or touching the tinted windows for at least a week to allow the adhesive to cure fully. During this time, any remaining bubbles should dissipate. This curing period is crucial for the film to settle and adhere securely to the glass.

Inform household members about the curing period to prevent accidental damage or premature cleaning, which could affect the tint’s performance.

Use Gentle Cleaning Methods

When cleaning tinted windows, use a mild soap solution and a soft cloth. Avoid abrasive materials and ammonia-based cleaners, as they can damage the tint. Regular, gentle cleaning helps maintain the film’s clarity and effectiveness.

Establish a routine cleaning schedule to prevent buildup of dirt and grime. Consistent care will preserve the tint’s appearance and extend its lifespan, ensuring you continue to enjoy its benefits.

Conclusion

Home window tinting is a worthwhile investment that enhances both the functionality and aesthetics of your living space. By following these installation tips, you can enjoy the benefits of reduced energy costs, increased privacy, and improved indoor comfort. The right preparation and execution ensure that your window tinting project is successful and yields maximum returns.

With the right preparation, tools, and knowledge, installing window tint can be a rewarding DIY project. However, if you prefer a flawless finish without the hassle, consider hiring a professional installer to ensure the job is done right. A professional touch can save time and ensure a perfect result that enhances your home’s value.

Whether you’re an interior designer seeking cost-effective solutions or a homeowner looking to upgrade your space, window tinting offers a range of benefits that make it a smart choice. Embrace the transformation and enjoy a more comfortable, energy-efficient home. The decision to tint your windows is an investment in the quality of your living environment and your home’s long-term value.

Categories
Window Films & Tints

How to Choose Window Film For Heat

Choosing the right window film for heat control can make a huge difference in both the comfort and energy efficiency of a home. As a home improvement expert, I’ve seen how the right film not only keeps interiors cooler but also reduces energy bills. In this guide, we’ll explore how to choose the best window film for heat, ensuring that your clients enjoy a comfortable and aesthetically pleasing environment.

Window films are thin layers of material applied to glass surfaces. They are designed to reject solar heat, reduce glare, and provide UV protection. But with so many options available, how do you choose the right one for heat control? Let’s dive into the essential factors to consider.

The Science Behind Solar Window Film

Solar window films work by reflecting and absorbing solar energy. This reduces the amount of heat that penetrates through the glass. They are typically made of polyester and can be clear, tinted, or coated with metals or ceramics for enhanced performance. According to the U.S. Department of Energy, properly selected films can significantly reduce heat gain and improve indoor comfort.

Why Consider Window Film for Heat Control?

Window films offer a dual benefit: they improve energy efficiency and enhance comfort. By blocking out a significant portion of solar heat, they reduce the load on air conditioning systems, leading to lower energy costs. They also minimize glare, making spaces more comfortable and reducing the fading of interior furnishings.

Factors to Consider When Choosing Window Film

Solar window film application on a large glass window

Purpose and Performance

First, identify the primary purpose for the window film. Is it to reduce heat, enhance privacy, or improve aesthetic appeal? For heat control, focus on films that offer high solar heat rejection rates. Look for specifications like Total Solar Energy Rejected (TSER) and Visible Light Transmission (VLT) to gauge performance.

Aesthetic Preferences

Window films come in various shades and finishes. Clear films maintain the natural look of windows, while tinted films offer a shaded view. Decorative films can add a unique design element. Choose a film that complements the overall design scheme of the space.

Durability and Warranty

Consider the longevity of the window film. High-quality films are more durable and often come with warranties that cover peeling, cracking, or discoloration. A good warranty is a testament to the product’s quality and the manufacturer’s confidence.

Installation Process

Proper installation is crucial for the effectiveness of window films. While DIY kits are available, professional installation ensures the best results. Experts have the tools and experience to apply films smoothly without bubbles or wrinkles.

Cost vs. Benefit

While window films are generally cost-effective, prices can vary based on material and performance. Evaluate the long-term savings in energy costs against the upfront investment. High-performance films might have a higher initial cost but can offer significant savings over time.

Types of Window Films for Heat Control

Stylish interior with window film applied

by Minyeong Jeong (https://unsplash.com/@manonsfoto)

Dyed Films

Dyed films are an economical option. They absorb solar heat and reduce glare. However, they may not be as effective as other types in heat rejection.

Metalized Films

These films contain tiny metallic particles that reflect heat and UV rays. They offer excellent heat control but may interfere with electronic signals.

Ceramic Films

Ceramic films use advanced technology to provide superior heat rejection without the use of metals. They offer high clarity and do not interfere with electronic devices.

Hybrid Films

Hybrid films combine dyes and metals for a balance of performance and cost. They offer decent heat reduction and glare control.

Benefits of Using Window Films for Heat Control

Enhanced Comfort

By reducing the amount of heat that enters a room, window films help maintain a consistent indoor temperature. This leads to a more comfortable living environment, especially during hot summer months.

Energy Efficiency

Window films significantly reduce the need for air conditioning by blocking heat. This translates to lower energy consumption and reduced utility bills, offering substantial savings in the long run. Research from the National Renewable Energy Laboratory highlights how solar control window technologies can improve building energy performance.

UV Protection

Window films block up to 99% of harmful UV rays. This protection prevents fading of furniture, flooring, and artwork, preserving the interior’s aesthetics.

Glare Reduction

Excessive glare can be uncomfortable and strain the eyes. Window films reduce glare, making it easier to watch TV, work on a computer, or simply relax without squinting.

Privacy and Security

Certain films offer additional privacy by obscuring the view from outside. They can also add an extra layer of security by holding shattered glass together in case of breakage.

Conclusion

Choosing the right window film for heat control is a smart investment for any homeowner. It enhances comfort, improves energy efficiency, and protects interiors from UV damage. By considering factors like performance, aesthetics, and cost, you can select a film that meets the specific needs of your clients.

When recommending window films, emphasize the long-term benefits and potential savings. As a trusted advisor, your expertise can guide homeowners toward solutions that enhance their living spaces while keeping them cool and comfortable. Remember, professional installation is key to maximizing the benefits of window films, ensuring that they perform effectively for years to come.

::contentReference[oaicite:0]{index=0}

Categories
Window Films & Tints

Understanding the Lifespan of Residential Window Films

When it comes to enhancing the comfort and aesthetics of your home, residential window films offer a versatile solution. From reducing glare to improving energy efficiency and adding a layer of privacy, window films can transform your living space. But one question often asked by homeowners and interior designers alike is: How long do these films last?

In this comprehensive guide, we’ll delve into the lifespan of residential window films, factors that affect their longevity, and tips for maintaining them to ensure you get the most out of your investment.

Residential window films are thin layers of polyester or vinyl applied to the interior or exterior surfaces of windows. They come in various types, each serving distinct functions such as UV blocking, glare reduction, heat control, and privacy enhancement. These films can be clear, tinted, or decorative, providing both functional and aesthetic benefits. For additional scientific insight into solar heat gain and window performance, see the National Renewable Energy Laboratory research.

Factors Affecting the Lifespan of Window Films

Understanding what influences the lifespan of window films can help you make informed decisions and extend the life of your window investments.

Quality of the Film

The quality of the window film is a significant determinant of its lifespan. High-quality films, often backed by reputable manufacturers, are designed to last longer and perform better than their cheaper counterparts. Investing in a premium film means fewer replacements and long-term savings.

Installation Process

Window film installation

Proper installation is crucial for maximizing the lifespan of window films. Professional installation of window films ensures that the film adheres correctly to the window surface without bubbles or creases. A well-installed film not only looks better but also functions optimally over time.

Environmental Conditions

The environment in which the film is installed plays a role in its longevity. Films exposed to extreme weather conditions, such as intense sunlight, high humidity, or significant temperature fluctuations, may degrade faster. Selecting a film suited to your specific climate conditions can mitigate these effects.

Maintenance and Care

Regular maintenance is key to preserving the quality and effectiveness of window films. Proper cleaning techniques and avoiding harsh chemicals can prevent damage and prolong the film’s life. We’ll explore maintenance tips in detail further in the article.

Average Lifespan of Residential Window Films

The typical lifespan of residential window films ranges from 10 to 20 years. However, this can vary based on the factors discussed earlier. Here’s a closer look at different types of films and their expected longevity:

  • Solar Control Films: Designed to reduce heat and glare, these films typically last between 10 to 15 years.
  • Security Films: Providing an added layer of protection, these robust films can last up to 20 years.
  • Decorative Films: While primarily aesthetic, these films generally have a lifespan of 5 to 10 years, depending on exposure to sunlight and other elements.
  • UV Blocking Films: These films, focused on protecting interiors from harmful UV rays, usually have a lifespan of 10 to 15 years.

Tips for Maximizing the Lifespan of Your Window Films

To ensure your window films perform optimally throughout their lifespan, consider the following maintenance tips:

Proper Cleaning Techniques

Cleaning window films

by william f. santos (https://unsplash.com/@youwwwill)

Regular cleaning is essential, but it’s important to use the right methods to avoid damaging the film. Here are some cleaning tips:

  • Use a soft cloth or a squeegee instead of abrasive materials that can scratch the film.
  • Avoid using ammonia-based cleaners. Instead, opt for a mild soap solution.
  • Clean the films gently and avoid applying excessive pressure.

Regular Inspections

Conducting regular inspections of your window films can help you identify any signs of wear or damage early on. Look for bubbling, peeling, or discoloration, as these issues can indicate that the film needs replacement.

Addressing Environmental Factors

If your windows are in an area with extreme weather conditions, consider using blinds or shades to reduce exposure. This can help in minimizing the stress on window films, thereby extending their lifespan.

The Benefits of Professional Installation

While DIY installation might seem tempting, professional installation of window films ensures that you receive the maximum benefits and lifespan. Experts have the tools and experience necessary to fit films perfectly, reducing the risk of errors that could shorten their longevity.

Moreover, professional installers often provide warranties that cover both the film and the installation, offering added peace of mind. According to the U.S. Department of Energy, properly installed window treatments and films can significantly improve energy efficiency in homes.

Conclusion

Residential window films are a valuable addition to any home, offering numerous benefits such as improved energy efficiency, enhanced privacy, and protection from UV rays. By understanding the factors that affect their lifespan and following proper maintenance practices, you can ensure that your window films remain effective for years to come.

Whether you’re an interior designer looking for cost-effective solutions or a homeowner seeking to enhance your living space, investing in quality window films and professional installation will yield long-term benefits. Stay informed, choose wisely, and enjoy the comfort and style that window films bring to your home.